
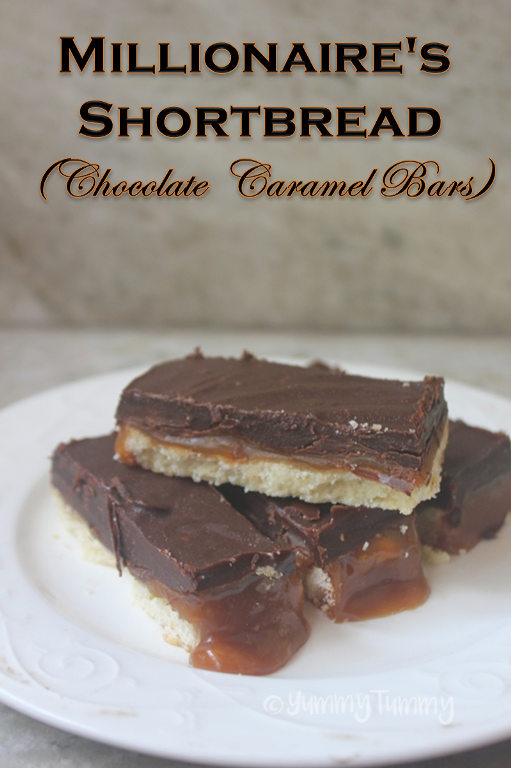
Millionaire’s Shortbread is a rich, indulgent three-layered bar dessert that combines a crumbly buttery shortbread base, a gooey caramel middle, and a smooth layer of dark chocolate on top. Despite looking luxurious and bakery-style, it’s quite doable at home. The name might sound extravagant, but it truly lives up to its title; it tastes like a million bucks!
")
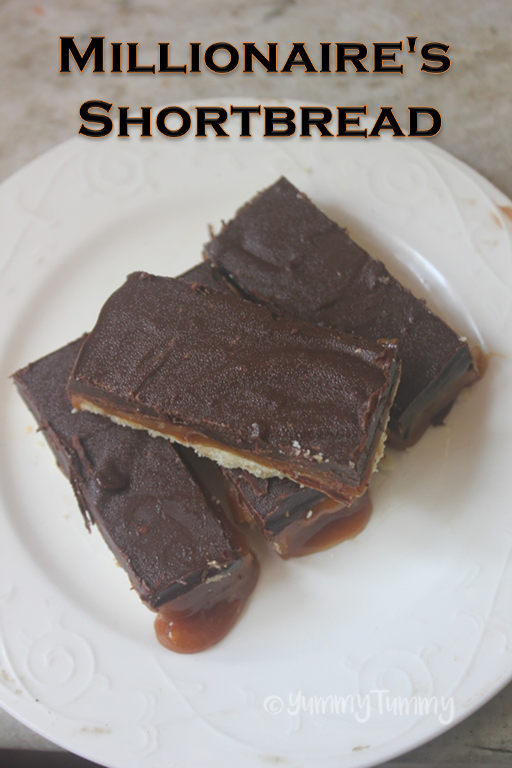
Millionaire’s Shortbread Recipe
This is a indulgent and rich dessert which is great for parties. This dessert is loaded with sugar and butter. This is one decadent dessert.
I have been eyeing on this recipe for quite sometime now. Finally made it just few days back and i am telling you, it turned out fantastic. So good and super delicious. It may seem little complicated to make, but it is not at all hard.
Jump to:
About Millionaire’s Shortbread
This dessert feels truly special and fancy, but surprisingly doesn’t need complicated ingredients. The buttery shortbread base provides a sturdy and crumbly texture. The homemade caramel sauce adds richness and stickiness, while the glossy chocolate topping finishes everything off with a perfect snap.
I followed this recipe when I finally gave in to my craving for something sweet and satisfying, and I have to say, it was a hit! From the first bite, it reminded me of the chocolate-caramel treats I used to get as a kid at the local bakery. The balance of sweetness and slight saltiness in the caramel really takes it to the next level.
What I love is how each layer builds upon the next not just in taste, but in texture and experience. Making it at home also gives you the freedom to adjust it to your liking: make it saltier, less sweet, add some sea salt flakes, or even change the type of chocolate. It’s both nostalgic and customizable!
Similar Recipes
Cheerio Bars
Wheat Bran Bars
Oatmeal Chocolate Bars
Peanut Butter Bars
Lemon Bars
Shortbread
Strawberry Oatmeal Bars
Why this recipe works
This recipe is carefully balanced in textures and flavors. The buttery shortbread doesn’t overpower, and it holds well without crumbling apart. The caramel, made from scratch, has the right balance of sweetness and saltiness with that smooth, velvety consistency. And the chocolate layer brings it all together with its bittersweet touch. Also, the layering process helps the bars set perfectly without being messy. Each component is cooked separately and cooled before moving to the next step, which means you’re less likely to end up with a runny or uneven slice. The ingredients are also commonly available, which makes it convenient.
Why I like this recipe
I personally love recipes that look like you’ve spent hours on them, but are secretly easy. That’s exactly what this is. When I made it for the first time, my family thought I’d bought it from a fancy bakery! It’s one of those recipes that makes you feel proud when you cut into those perfect layers.
There’s also something nostalgic about caramel and chocolate for me. I remember trying similar bars during holidays when I was younger, and this recipe took me straight back to those cozy winter afternoons. I also enjoy how it comes together with pantry staples flour, sugar, butter, chocolate, and cream.
Ingredients
All-Purpose Flour – This is the base of your dessert it forms the biscuit layer that holds everything together. All-purpose flour is perfect here because it gives a light but firm texture once baked. You don’t need anything fancy.
Butter – ½ cup (100g): The key to that crumbly, melt-in-mouth shortbread is using butter straight from the fridge. When you rub cold butter into the flour, it creates little pockets of fat that melt during baking and give that signature texture.
Salt – ½ tsp: A small but important touch – salt rounds off the flavor and enhances the buttery richness. It also helps balance out the sweetness from the caramel and chocolate later.
Sugar – 1 1⁄4 cups: This is the main ingredient for the caramel. You gently melt it down to get that deep golden color and sticky texture. It gives the middle layer its signature sweetness and chew.
Cream – ¼ cup: The cream makes the caramel silky and soft instead of hard and sticky. It blends with the melted sugar and butter to create a beautiful texture.
Vanilla Extract – ½ tsp: Just a bit of vanilla at the end makes the caramel smell and taste warmer. It adds depth and keeps the caramel from tasting too plain or flat.
Dark Chocolate Chips – 1 cup: The final layer of this dessert – this is where all the richness comes in. Dark chocolate balances out the sweet caramel and buttery base. You can use milk chocolate if you want it a little sweeter, especially if kids are eating.
Hacks
Line the pan with parchment paper before you start
It may seem like a small step, but this one really saves you time and effort later. It helps lift the shortbread easily from the pan without breaking the layers and makes cutting clean bars so much easier. I usually leave a little overhang on the sides, so I can just pull the whole thing out like a tray.
Rub the cold butter into the flour properly for the shortbread base
Don’t rush this part, it makes a big difference. You want the flour and butter to look like coarse breadcrumbs before pressing it into the pan. This gives you that classic buttery, crumbly shortbread texture that holds well even with the caramel and chocolate on top.
Let each layer cool fully before adding the next
Once you pour the caramel over the baked shortbread, let it sit until it’s no longer warm. If you add the chocolate layer too soon, it can melt into the caramel and mix up the layers. Letting everything cool properly helps keep those distinct, beautiful layers.
Chill before slicing
After assembling all the layers, place the tray in the fridge for at least 1–2 hours or even overnight if you’re not in a hurry. This helps firm up the caramel and chocolate, making it much easier to slice into neat squares or bars without smudging or cracking.
Millionaire’s Shortbread (Step by Step Pictures)
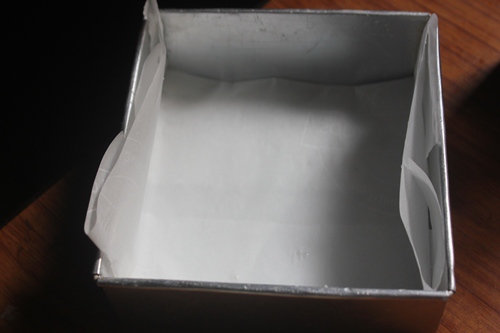
1)Line a square pan with parchment paper.
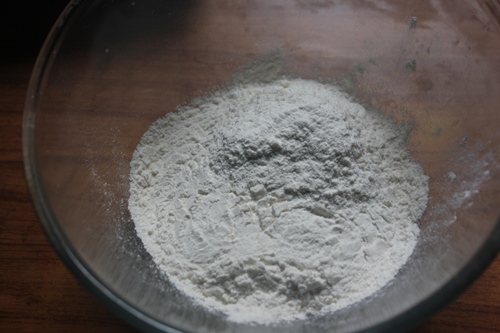
2)Take flour in a bowl.
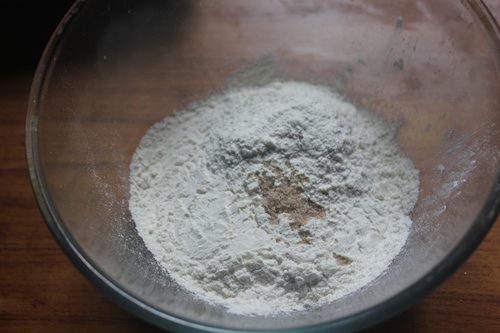
3)Add in salt.
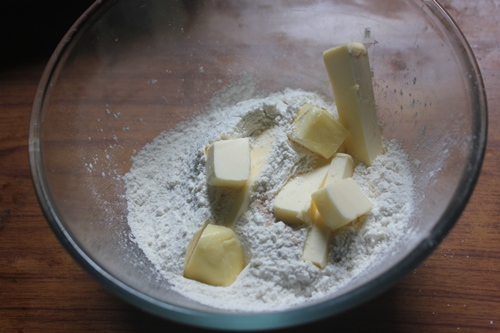
4)Add in butter.
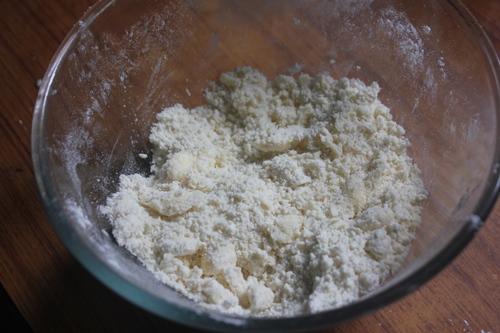
5)Rub the butter into the flour.

6)Now it is done.
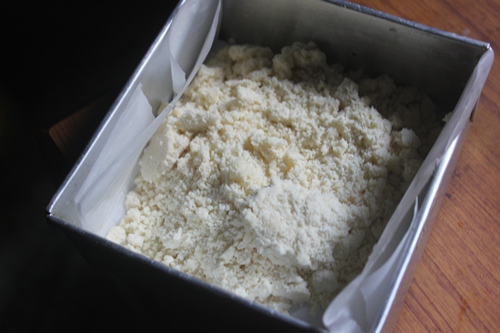
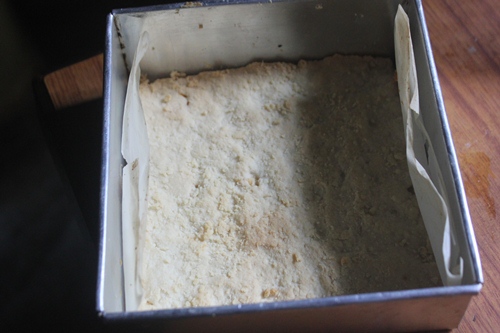
7)Transfer it to the pan
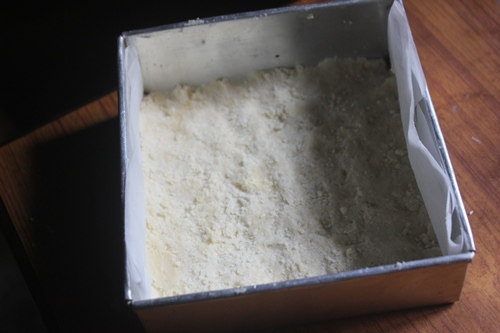
8)Press it firmly. Now pop it into the preheated oven and bake.
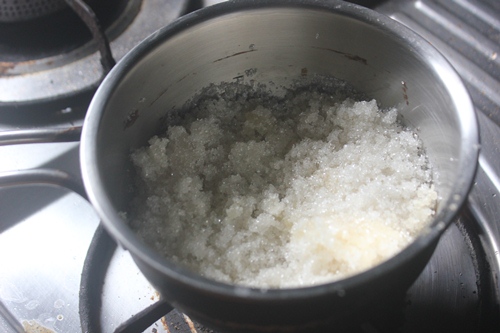
9)While it is baking, make the caramel.
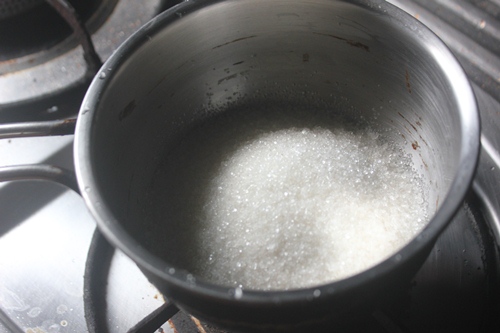
10)Heat till the sugar melts.
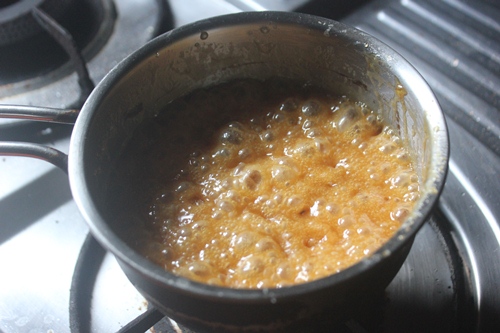
11)Cook till sugar gets golden. At this point dont stir the sugar. Swirl the pan and keep cooking till sugar is golden.
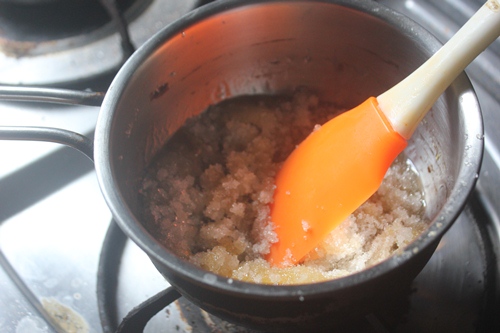
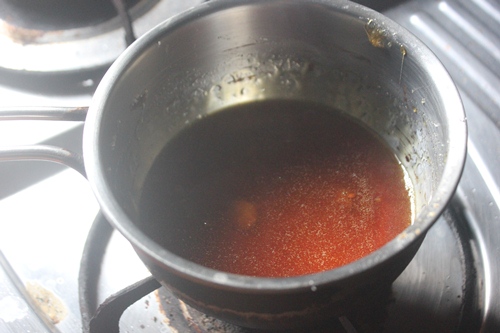
12)Now the sugar is well caramelized.
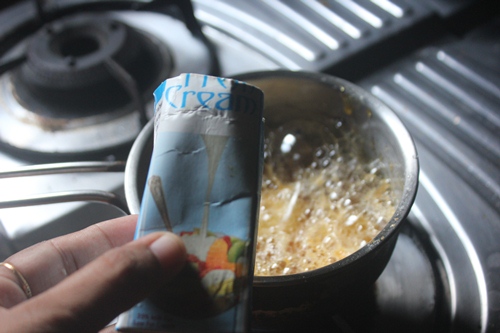
13)Add butter
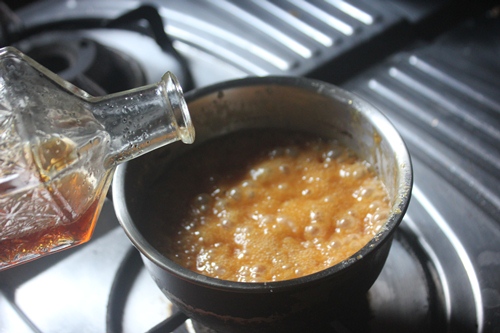
14)Add cream.
15)Bring it to a boil.
16)Add vanilla
17)Add salt.
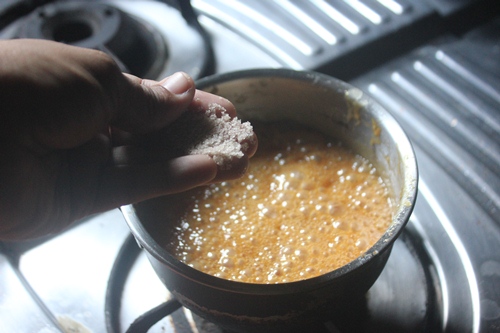
18)Mix well.

19)Set aside to cool for 5 mins.
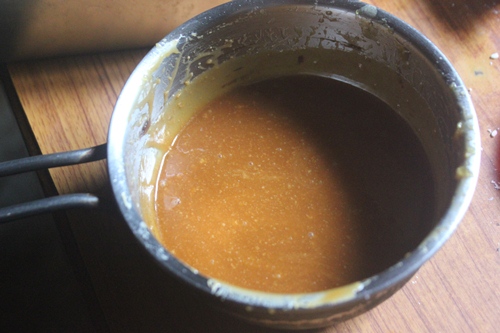
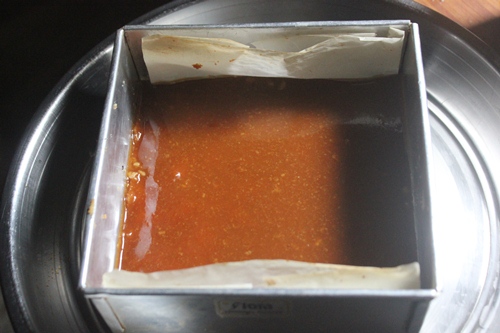
20)Now the base is done.
21)Pour the caramel sauce on top.
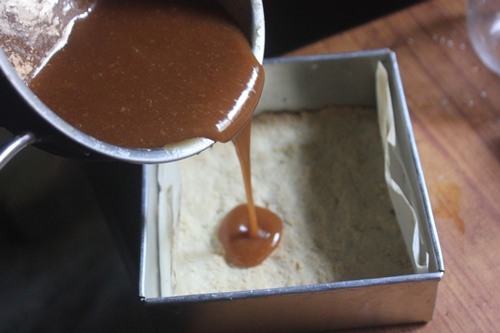
22)Leave to set for 2 hours in fridge

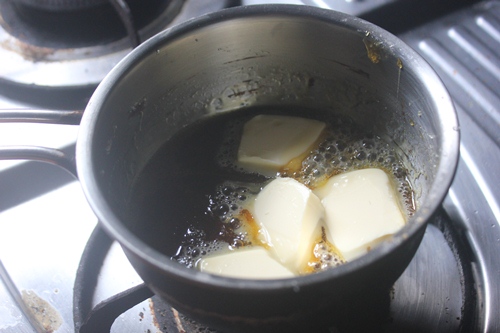
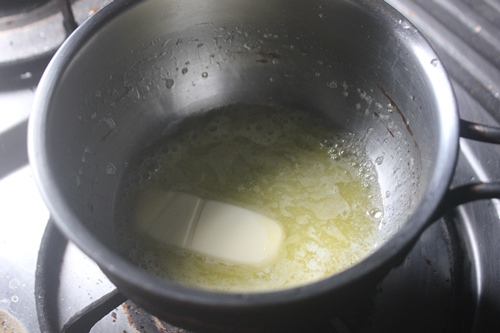
23)Take butter in a sauce pan
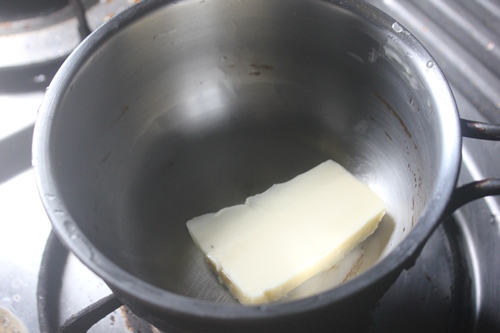
24)Melt it down
25)Add chocolate chips
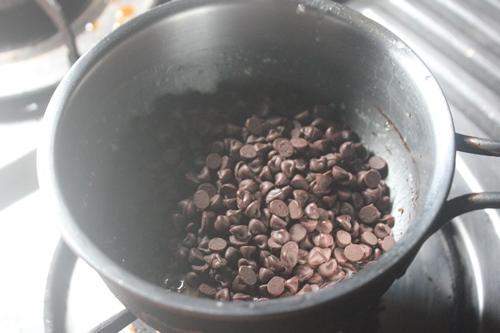
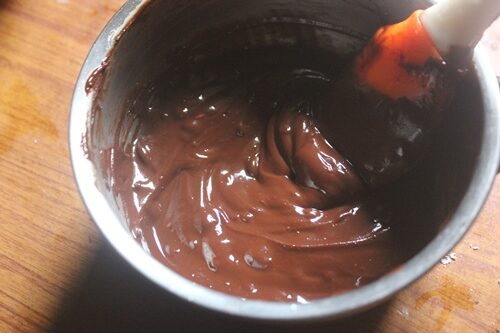
26)Melt it gently
27)now the caramel is set
28)Spread chocolate on top and let it set.
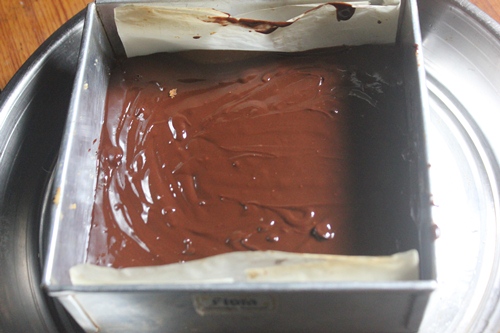
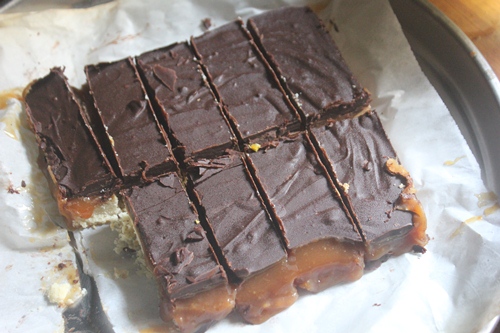
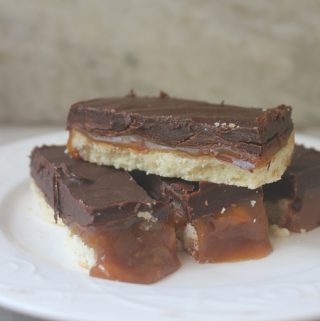
29)Slice and serve,
30)Serve
Expert Tips
- If you prefer a more melt-in-your-mouth experience, take the bars out of the fridge and let them sit on the counter for 10–15 minutes before eating. This softens the chocolate just enough and makes the caramel more chewy than firm.
- Use a sharp knife dipped in warm water and wiped clean before each slice. It helps glide through the chocolate and caramel without cracking the top or sticking.
- Make sure the bars are well chilled before slicing. It makes the job so much easier and cleaner.
Storage
These bars stay fresh in the fridge for about a week when stored in an airtight container. The cold keeps the caramel firm and the chocolate crisp. You can also freeze them for up to 2 months just thaw a bit before serving.
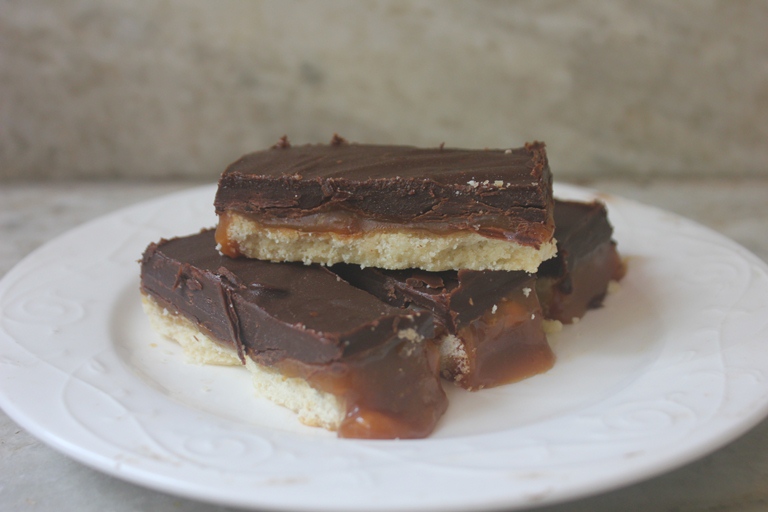
Serving
Serve the bars chilled for a firmer bite or at room temperature if you like the caramel softer and gooey. They pair really well with black coffee, tea, or even a glass of cold milk. I also love including them on dessert platters during parties; they always disappear quickly!
FAQ
Q: Can I use milk chocolate instead of dark chocolate?
A: Yes, you definitely can! If you or your family prefer a sweeter, creamier top layer, milk chocolate is a great option. Just keep in mind it’s already quite sweet, so if you’d like to balance it out, you can slightly reduce the sugar in the caramel layer but that’s totally optional.
Q: My caramel turned grainy. What went wrong?
A: This usually happens when the sugar is stirred while it’s melting. For smooth caramel, it’s super important to resist the urge to stir. Just gently swirl the pan until the sugar melts and turns golden. Also, make sure your pan is clean and dry before starting any leftover sugar crystals can also cause graininess.
Q: Can I double this recipe?
A: Yes, you can absolutely double the entire recipe if you’re making it for a party or want more to store. Just use a larger square or rectangular pan, and spread each layer evenly. Baking and cooking times may be a little longer so keep an eye on the oven and caramel to avoid overcooking.
Variations
Nutty Delight – For a lovely crunchy surprise, try sprinkling some chopped toasted almonds or hazelnuts right between the caramel and chocolate layers. The nuts add a nice texture contrast and a subtle nutty flavor that pairs beautifully with the sweet caramel and rich chocolate.
Sea Salt Topping – If you want to give your bars a little extra something special, sprinkle a pinch of flaky sea salt on top of the melted chocolate before it sets. The salt cuts through the sweetness and adds a lovely gourmet touch that makes each bite even more interesting.
Spiced Twist – To make the caramel feel a bit warmer and cozier, try adding a small pinch of cinnamon or nutmeg when you’re cooking it. These spices blend perfectly with the buttery caramel and give the bars a subtle hint of spice that’s great for fall or winter treats.
Biscuit Base Alternative – If you’re short on time or want a slightly different texture, you can swap the traditional shortbread base for a quick biscuit crust. Just crush some digestive biscuits and mix them with melted butter, then press it firmly into your pan. It’s an easy shortcut that still tastes delicious!
More Bar Recipes to Try
📖 Recipe Card
Millionaire’s Shortbread Recipe
Servings: 8 servings
Calories: 532kcal
Equipment
square pan
Parchment Paper
Cooking pot
Instructions
Pre-prep & Shortbread Base: Start by preheating the oven to 190°C and lining a square pan with parchment paper. In a mixing bowl, combine flour and salt, then add the cold butter. Using my fingers, rub the butter into the flour until it looks like damp sand. This mixture gets pressed into the prepared pan and baked for about 15 to 20 minutes until lightly golden. Once baked, keep it aside to cool.
Making the Caramel Sauce: While the shortbread cools, begin working on the caramel. Sugar is added to a heavy-bottomed pan and gently heated until it starts melting and turns golden. make sure not to stir—just swirl the pan gently. Once it reaches a nice amber color, whisk in butter, cream, vanilla, and salt. let this boil for about 2 minutes and then allow it to cool for 5 minutes before pouring it over the shortbread base. This layer goes into the fridge to set for at least an hour.
Preparing the Chocolate Topping: Finally, melt 2 tbsp of butter in a pan and add the chocolate chips. Once it’s melted and glossy, pour it over the firm caramel layer and spread it evenly. This goes back into the fridge to chill and set completely for another hour.
Final Touch: Once set, lift it out using the parchment and slice into neat bars using a sharp knife. Wiping the knife between cuts helps get those clean edges.
Video
Nutrition
Serving: 1servings | Calories: 532kcal | Carbohydrates: 62g | Protein: 5g | Fat: 30g | Saturated Fat: 21g | Polyunsaturated Fat: 1g | Monounsaturated Fat: 6g | Trans Fat: 1g | Cholesterol: 62mg | Sodium: 320mg | Potassium: 182mg | Fiber: 1g | Sugar: 39g | Vitamin A: 731IU | Vitamin C: 0.2mg | Calcium: 83mg | Iron: 1mg
If you have any questions not covered in this post and if you need help, leave me a comment or mail me @[email protected] and I’ll help as soon as I can.
Follow me on Instagram, Facebook,Pinterest ,Youtube and Twitter for more Yummy Tummy inspiration.
IF YOU MAKE THIS RECIPE OR ANYTHING FROM YUMMY TUMMY, MAKE SURE TO POST IT AND TAG ME SO I CAN SEE ALL OF YOUR CREATIONS!! #YUMMYTUMMYAARTHI AND @YUMMYTUMMYAARTHI ON INSTAGRAM!
More Chocolate Recipes
–>