
Gooseberry Rice, also known as Nellikai Sadam in Tamil, is a simple, tangy, and nutritious South Indian-style mixed rice. It’s made using freshly grated Indian gooseberries (amla/nellikai), cooked rice, and a flavorful tempering of spices and lentils. Gooseberries are well known for their high Vitamin C content and immune-boosting properties. This rice is one of the easiest ways to include them in everyday meals, especially if you’re looking for something quick, light, and packed with nutrients.
")
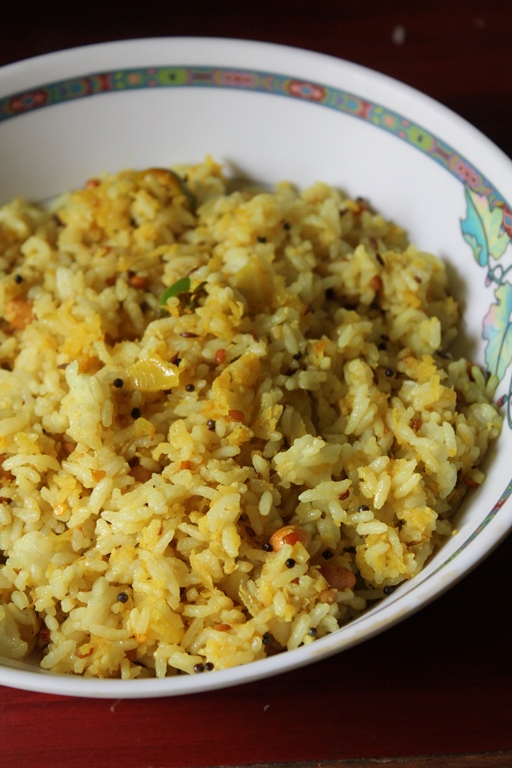
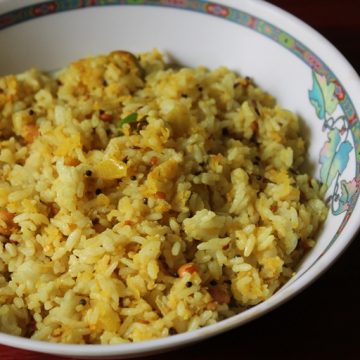
Gooseberry Rice
Gooseberry rice is a new type of mixed rice which you don’t do often. The taste of this would be similar to lemon rice. But has a lovely taste of the gooseberry. I love variety rices, i have quite a few of them. So try this and let me know how it turned out for you.
Jump to:
About Gooseberry Rice (Amla Rice)
I started making Gooseberry Rice when I had a few extra nellikai lying around after a festive puja. At first, I wasn’t sure how the taste would turn out, but I was surprised at how fresh and balanced it felt tangy, a little spicy, and comforting like lemon rice but more unique.This dish is perfect for lunchboxes, quick dinners, or even for fasting days. It’s also a nice way to include the goodness of gooseberries in your meal without making it feel too obvious or overwhelming
This is one of those recipes where you don’t need to be exact with measurements. Just grate a few gooseberries, use leftover rice, and with a handful of pantry staples like mustard seeds, lentils, and peanuts, you can have it ready in under 30 minutes. No grinding, no fancy paste just mix and go.
What I love is how the seasoning and coconut mellow down the sourness of the gooseberry, and the crunchy texture from the dals and peanuts adds a nice bite. It’s a humble dish but feels special in its own way. Plus, it’s naturally gluten-free and can be made vegan if you skip the ghee.
Similar Recipes,
Why This Recipe Works
This recipe is all about balance. The natural sourness of the gooseberry pairs beautifully with the mild sweetness of coconut and the slight spice from green chilies. Adding just a pinch of sugar also helps bring out the flavor of the nellikai without making it sweet. Another reason it works is the simplicity of the technique. All you need is one pan, and the steps are very beginner-friendly. No pressure of overcooking or undercooking, and you can adjust the ingredients based on taste.
Why I Like This Recipe – I love recipes that feel like home, and Gooseberry Rice is one of those comforting dishes that reminds me of my childhood. My grandmother used to make this when we had too many gooseberries in the house, especially during monsoon. The aroma of the roasted dals and the tang of the rice brings back those quiet, cozy afternoons. It’s also my go-to when I want to make something healthy but quick. Especially on rushed weekdays, I just grate the gooseberries, use leftover rice, and in 15–20 minutes, lunch is sorted. Another reason I love it? It’s incredibly light on the stomach. There are no heavy spices or masalas, just fresh, clean flavors. And it keeps me full and energized without feeling bloated.
The final touch of frying the cooked rice with the prepared masala helps the grains absorb the flavor and gives a lightly toasted finish. It also makes sure the rice doesn’t turn soggy. And honestly, even if you’re not usually a fan of gooseberries, this way of cooking them might just change your mind. It’s tasty and easygoing.
Ingredients
Cooked Rice – 2 cups – I usually go with regular white rice that’s already cooked and cooled. Leftover rice from the fridge actually works best because it’s less sticky. The key here is to make sure the grains stay separate so the final dish feels light and not clumpy. If you’re cooking fresh rice for this, try spreading it out on a plate and letting it cool before using.
Gooseberries / Nellikai – 3 large, grated – These are the heart of the dish. I grate fresh gooseberries, and they bring a tangy, slightly bitter flavor that’s really refreshing. Apart from the taste, they’re also packed with Vitamin C and great for digestion. If the gooseberries are too firm, I just steam them for a minute or two so grating becomes easier.
Coconut – 1 tablespoon, grated – Just a small handful of fresh or frozen grated coconut is enough. It adds a gentle sweetness that helps round off the sharpness from the gooseberries. I really like how it gives a bit of texture too. It doesn’t dominate the flavor but makes the dish feel more complete.
Salt to Taste & Sugar – ½ teaspoon – A pinch of salt, of course, brings balance to the dish. And that tiny bit of sugar isn’t meant to make it sweet, it’s just there to smooth out the bitterness of the gooseberries and lift the overall flavor. Sometimes I even adjust it slightly depending on how tart the gooseberries are that day.
Hacks
Use Leftover Rice – Using day-old rice from the fridge makes a big difference. It tends to be a little drier than freshly cooked rice, so it doesn’t turn mushy when you mix it with the gooseberry masala. If you’re using fresh rice, just spread it on a plate and let it cool completely before adding it to the pan.
Soften Gooseberries if Needed – Sometimes gooseberries can be a bit tough or have fibers that don’t grate well. In that case, just steam them for a couple of minutes or microwave them for 30–40 seconds. It softens them enough to grate easily, and the flavor stays intact.
Quick Grating Hack – If grating feels like a chore (especially if you’re in a hurry), just pop the gooseberries into a small mixer jar and pulse a few times. It gives you a nicely crushed mix without the effort of grating and saves time on busy mornings.
Gooseberry Rice (Step by Step pictures)
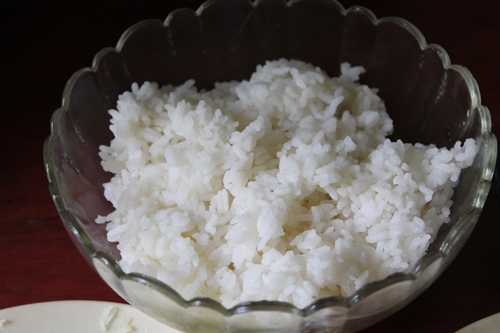 |
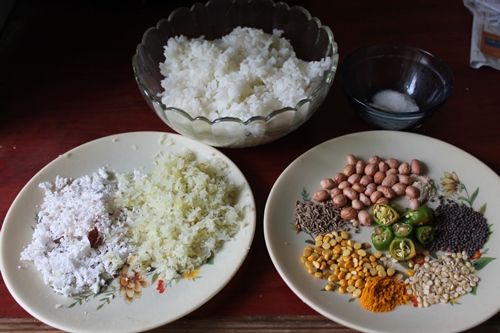
| Cooked Rice |
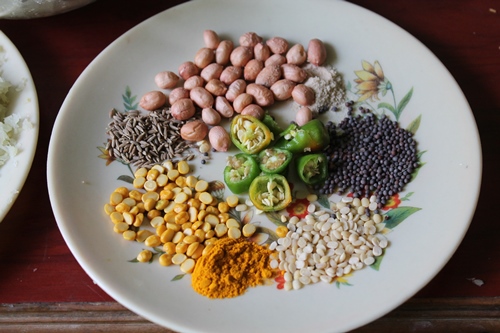 |
| Seasoning Ingredients |
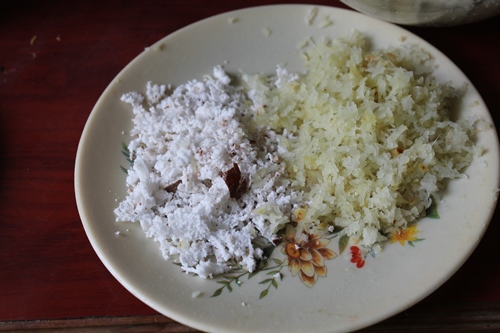 |
| I also grated gooseberry and coconut |
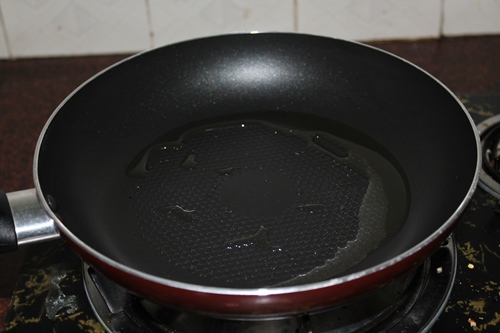 |
| Heat oil in a kadai |
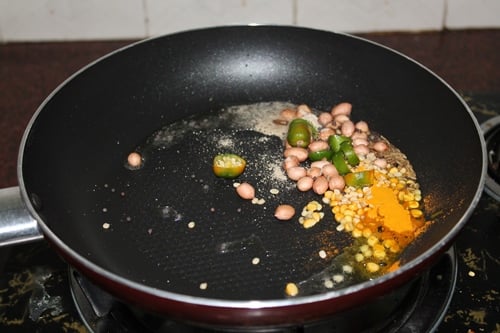 |
| Add in all the seasoning ingredients |
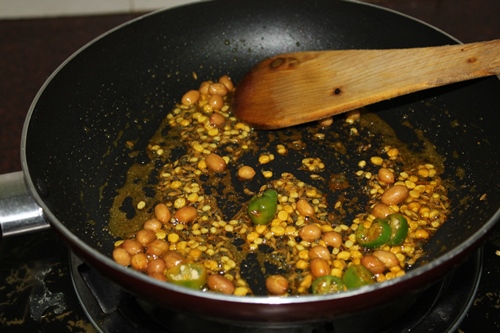 |
| fry it for few seconds |
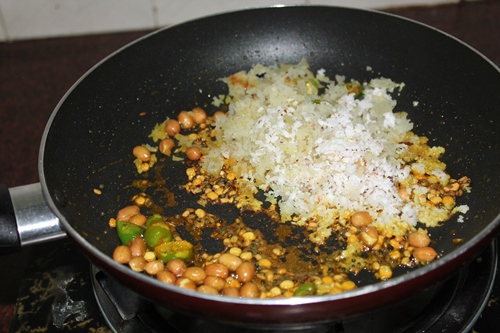 |
| Add in grated gooseberry and coconut |
 |
| saute for few mins |
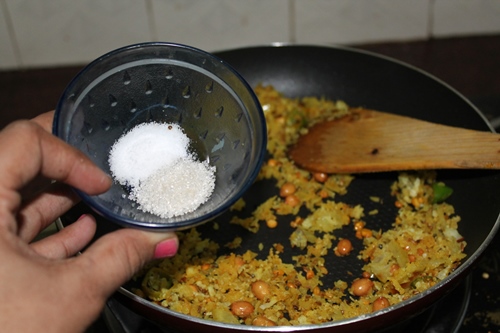 |
| Add in salt and sugar |
 |
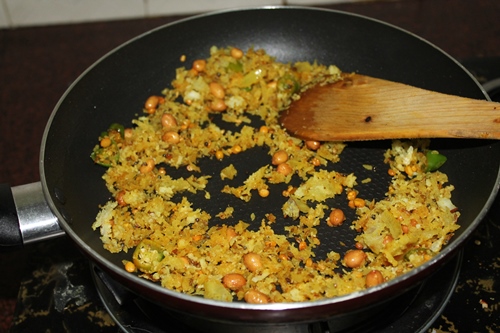
| mix well |
 |
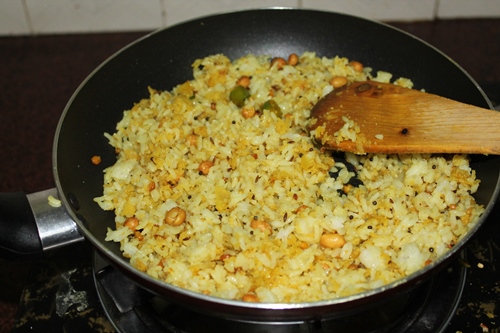
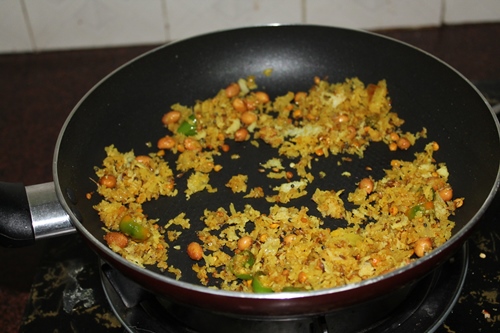
| this is the intense masala |
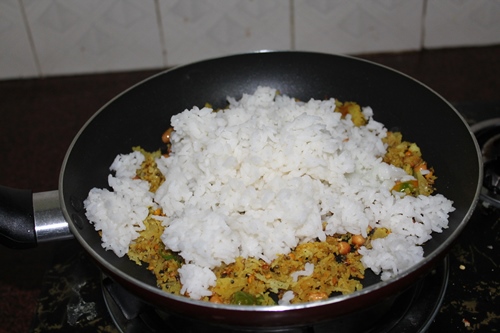 |
| Add in cooked rice |
|
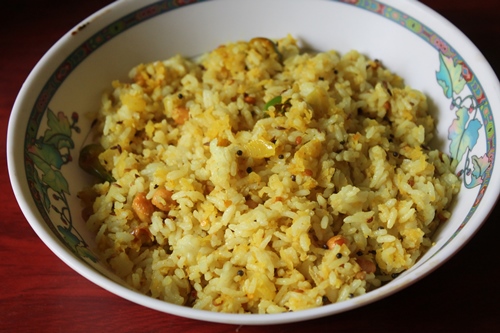
| toss well |
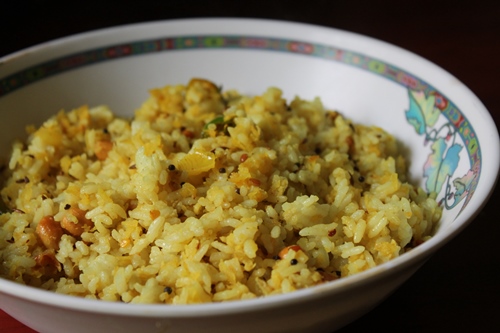 |
| serve |
Expert Tips
Make in Bulk: You can double the recipe and prepare the masala ahead of time. Mix in fresh rice just before serving. This is especially helpful if you’re cooking for a small gathering or prepping for a busy weekday. The masala also keeps well in the fridge for a day when stored separately.
Balance Flavors: Don’t skip that small pinch of sugar even though it’s a tiny amount, it really helps balance the sharp sourness of the gooseberries. It won’t make the dish sweet, but it smooths out the overall taste beautifully.
Storage: Gooseberry Rice stays good at room temperature for about 6 hours, which makes it great for lunchboxes or travel. You can refrigerate leftovers in an airtight box for up to 2 days. Just reheat it lightly before eating.
Serving Ideas: Serve it with a simple potato fry, papad, or curd. It also pairs well with any pickle, especially mango or lemon pickle. You can even serve it with a light rasam if you want something soupy on the side. For kids, a little ghee drizzled on top makes it even more comforting.
FAQ
Q: Can I skip coconut?
A: You can skip it if you don’t have it, but I’d suggest keeping it in if possible. It really helps mellow out the sourness from the gooseberries and adds a gentle sweetness. Even a small amount makes a difference in taste and texture.
Q: Is it very sour?
A: Not at all. While gooseberries do have a natural tang, the combination of coconut and just a pinch of sugar balances it nicely. The final flavor is fresh and mildly tangy, not sharp or overwhelming.
Q: Can I use frozen gooseberries?
A: Yes, you can! Just let them thaw completely and then grate them. One thing to keep in mind is to avoid using them if they’re too watery after thawing. Just pat them dry a bit so the mix doesn’t turn mushy.
Q: Can kids eat this?
A: Definitely! It’s a healthy, simple meal. If you’re serving it to younger kids, you can reduce the green chilies or skip them altogether. Add a little ghee on top when serving it makes it more appealing and gentle on their tummies.
Variations
Add Extra Veggies:
If you want to make the rice more wholesome or stretch it a bit, try adding some finely chopped vegetables like carrots, beans, or capsicum. Just sauté them along with the grated gooseberry. They not only add color and crunch but also boost the nutritional value of the dish without changing the flavor too much.
More Rice Recipes
📖 Recipe Card
Gooseberry Rice Recipe (Amla Rice, Nellikai Sadam)
Servings: 2 servings
Calories: 432kcal
Instructions
Pre-Prep: Always start by grating the gooseberries and coconut ahead of time. It saves effort when you’re at the stove and keeps things running smoothly. Also make sure the rice is cooked, cooled, and not sticky. Having everything ready makes the process quicker and stress-free.
Making the Tempering : In a heavy-bottomed kadai, Heat about 2 tablespoons of oil. Once hot, add mustard seeds, urad dal, channa dal, cumin seeds, and peanuts. Let them sizzle and roast on low heat until they turn golden and give off a nice aroma. Then in go the chopped green chilies, a pinch of hing, and turmeric powder.
Cooking the Masala: After the seasoning is fragrant, add the grated gooseberry and coconut. sauté this mix for a couple of minutes until everything blends well and softens a bit. Then add salt and just a pinch of sugar. It helps balance the sharpness of the gooseberry. This becomes the flavorful base of the dish.
Mixing the Rice: Finally, add the cooked rice gently into the masala. toss everything together on low heat until the rice is nicely coated and heated through. The turmeric gives the rice a bright yellow color. Once everything is mixed and warm, turn off the heat and let it rest for a couple of minutes before serving.
Nutrition
Serving: 1g | Calories: 432kcal | Carbohydrates: 52g | Protein: 9g | Fat: 21g | Saturated Fat: 3g | Polyunsaturated Fat: 6g | Monounsaturated Fat: 12g | Trans Fat: 0.1g | Sodium: 10mg | Potassium: 197mg | Fiber: 4g | Sugar: 2g | Vitamin A: 18IU | Vitamin C: 1mg | Calcium: 50mg | Iron: 2mg
If you have any questions not covered in this post and if you need help, leave me a comment or mail me @[email protected] and I’ll help as soon as I can.
Follow me on Instagram, Facebook,Pinterest ,Youtube and Twitter for more Yummy Tummy inspiration.
IF YOU MAKE THIS RECIPE OR ANYTHING FROM YUMMY TUMMY, MAKE SURE TO POST IT AND TAG ME SO I CAN SEE ALL OF YOUR CREATIONS!! #YUMMYTUMMYAARTHI AND @YUMMYTUMMYAARTHI ON INSTAGRAM!
More Amla Recipes
–>