
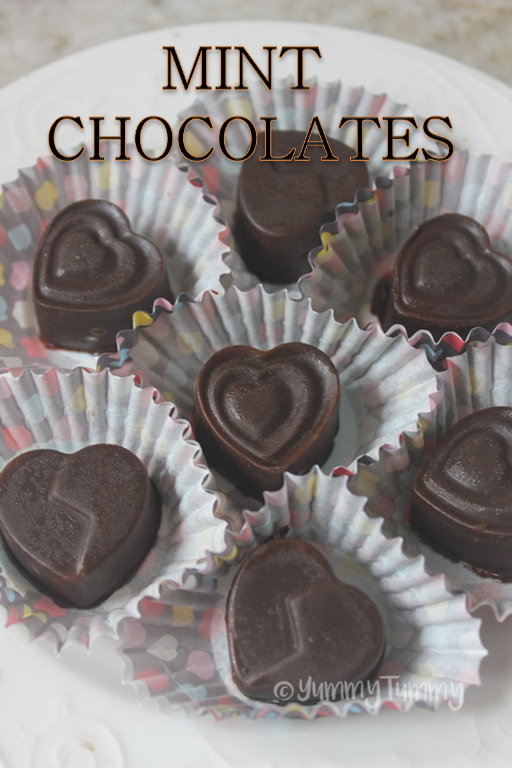
Mint chocolates are bite-sized delights filled with a soft, peppermint-flavored cream and coated in a rich chocolate shell. These are super easy to make at home, require no fancy tools (though a silicone mould helps), and taste just like the ones you’d buy from a store. Think peppermint patties or After Eight-style chocolates but homemade with love! This recipe is a great go-to if you’re craving something chocolatey with a fresh twist. You only need a few simple ingredients and a little patience to let things chill in between. Whether you’re making them for yourself or as edible gifts, they always bring smiles.

Mint Chocolates Recipe
Delicious mint chocolates which has delicious peppermint sweet filling. The chocolate taste amazing and it can be given as a edible gift as well.
Jump to:
I had one of this chocolate few days back and i am in complete love with it. This is a easy version of making it at home and it taste delicious. I have one more version which has corn syrup added in it.
About Mint Chocolates
What makes this mint chocolate recipe so charming is how home-friendly it is. You don’t need fancy tools or years of experience in the kitchen. Just a bowl, some chocolate, and your hands. The end result? These chocolates have a professional touch but are made right in your kitchen.
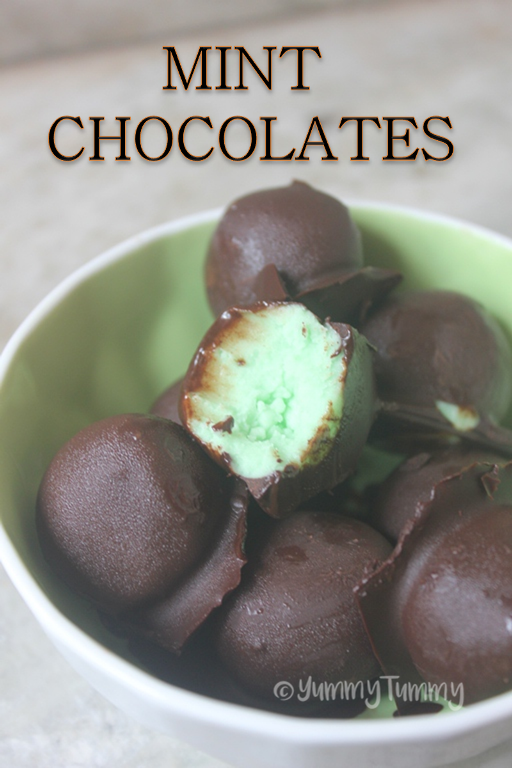
When you bite into one, there’s a satisfying snap from the dark chocolate, followed by a sweet, cool, creamy peppermint surprise that feels like something out of a gourmet box. Visually, they’re such a treat too! The glossy dark chocolate shell with a little pop of green on the inside makes them look elegant and fun especially when you’re gifting them or putting them out for guests. They add a lovely splash of color and flavor to dessert platters, and they always get compliments.
Another thing I love about them is how flexible the method is. If you don’t have a silicon mould, no worries! You can simply roll the filling into soft, minty dough balls and dip them into melted chocolate. It’s a fuss-free recipe that can be easily adapted based on what tools you have at home. Plus, no baking required! Less heat, less sweat, and less cleanup my favorite kind of dessert.
Similar Recipes
Cheerio Bars
Wheat Bran Bars
Oats Chocolate Bars
Oatmeal Chocolate Bars
Peanut Butter Bars
Lemon Bars
Why This Recipe Works
One of the best things about this recipe is the balance of flavors. Dark chocolate gives a deep, slightly bitter edge that perfectly offsets the sweetness of the peppermint filling. It’s not too sweet, not too strong just the right harmony in every bite.
Why I Like This Recipe – Honestly, mint and chocolate are such a nostalgic combo for me. Growing up, my mom would always keep After Eight mints in a hidden drawer (which I definitely did not sneak into regularly). Making this version at home takes me back to that memory but adds a homemade warmth to it. These little bites are always a hit with my family. My sister calls them “fancy fridge mints,” and my grandma says they taste better than the boxed ones. There’s something special about serving a homemade version of something store-bought it feels more personal. Also, the satisfaction of breaking into that chocolate shell and seeing the green cream inside? That moment alone makes it worth making.
The filling is a blend of icing sugar, butter, cream, peppermint oil, and just a touch of food coloring. This combo gives you a soft, smooth texture that doesn’t harden too much in the fridge. It melts in your mouth and leaves a cool, refreshing finish, which is what minty desserts are all about.
And let’s be honest the method is super chill. You don’t need an oven. Just a bowl set over simmering water to melt the chocolate, and a fridge to help everything set. Whether you’re a beginner or someone who just doesn’t feel like cooking that day, this recipe still makes you feel like a pro.
Ingredients
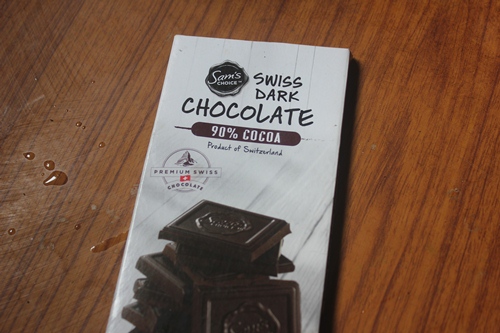
Dark Chocolate – You can go with regular dark chocolate bars or cooking chocolate both work fine. Just make sure to chop it into small pieces so it melts evenly. Dark chocolate is a great choice here because it balances out the sweet filling and gives that nice, rich outer shell.
Icing Sugar – This is what makes the filling sweet and smooth. If your sugar has lumps, you can sift it for a softer texture it’s not a must, but it helps. Icing sugar blends well with the cream and butter to give that creamy, melt-in-your-mouth feel.
Cream – This adds a bit of richness and helps make the filling nice and soft. You don’t need a lot just enough to bring everything together. You can use heavy cream if you have it, or even the thick cream that forms on top of milk (malai).
Butter – Butter helps hold the filling together and adds a nice buttery flavor. Make sure it’s melted but not hot when mixing it in. If it’s too warm, it might mess with the texture of the filling.
Green Food Colour – Just a couple of drops go a long way peppermint oil is strong! This is what gives the filling that fresh, minty kick. If you like it super minty, you can add one more drop, but start small and taste as you go.
Peppermint Oil – This one’s totally optional, but it does give that nice pop of green that people expect with mint chocolates. A drop or two is enough you don’t want it neon bright, just a gentle minty green.
Mint Chocolates (Step by Step Pictures)
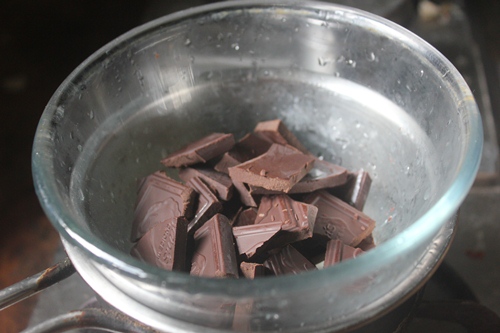
1)Take any chocolate of your choice
2)Break into small pieces and take it in a heat safe bowl. Place over a bowl of simmering water.
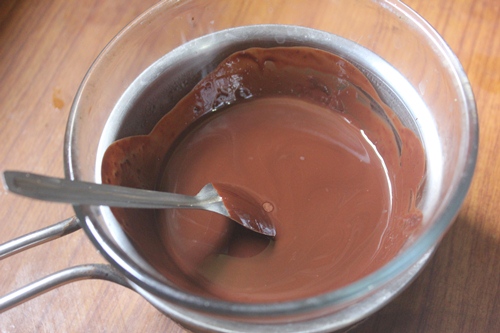
3)Set aside to cool.
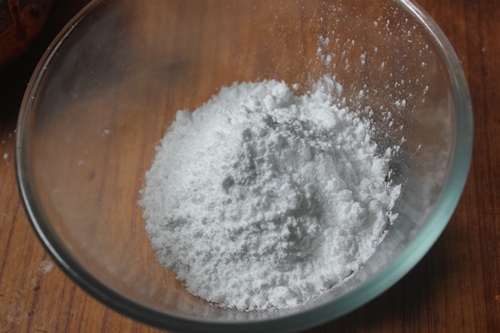
4)Take icing sugar in a bowl
5)Add in cream
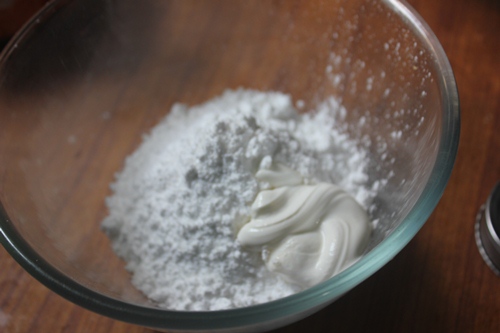
6)Add in melted butter
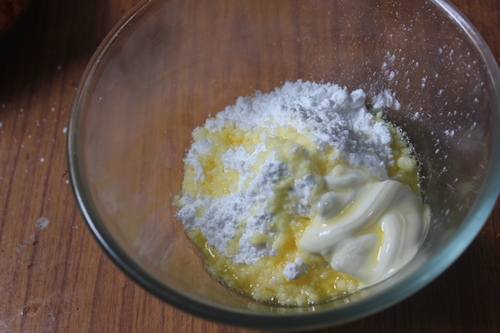
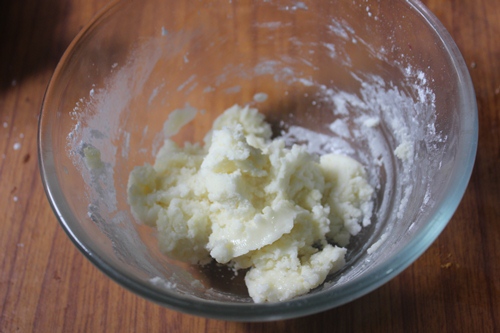
7)Mix well.
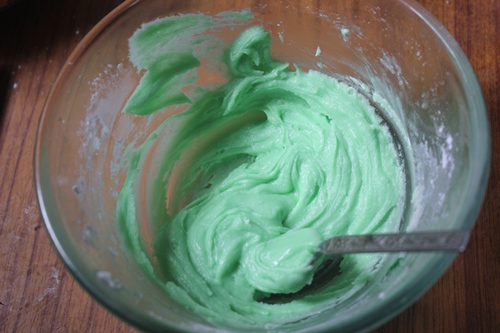
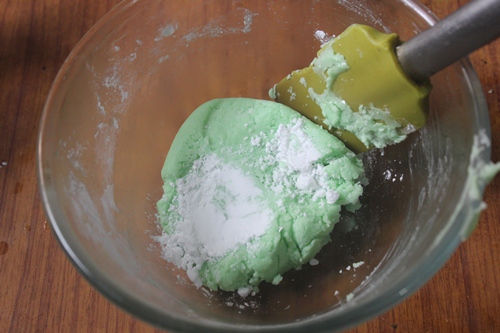
8)Add in few drops of green colour
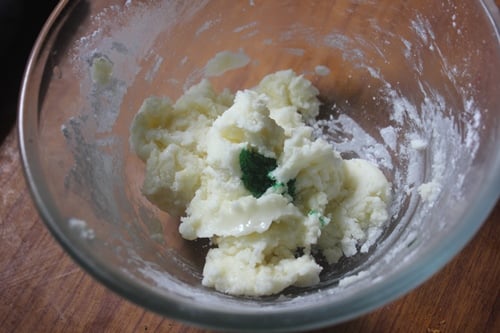
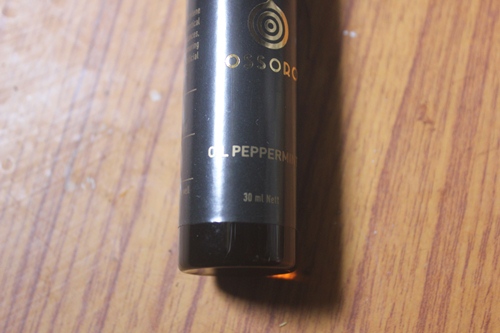
9)Add some peppermint extract
10)Mix well
11)Take silicon mould
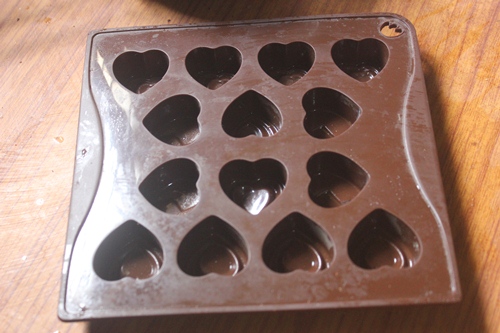
12)Grease with little oil
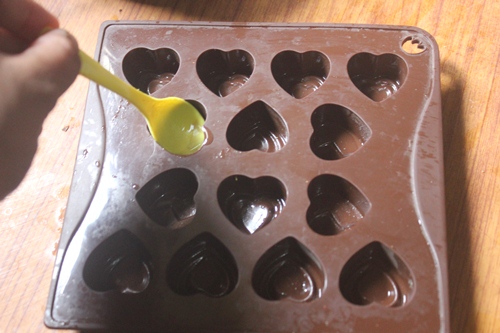
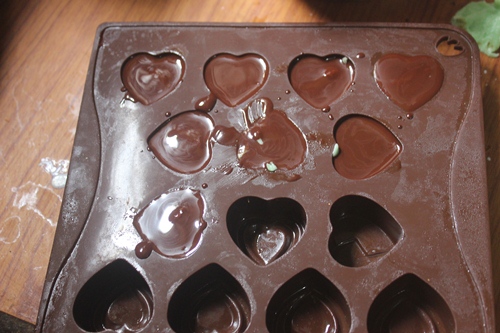
13)Spoon some chocolate in
14)Coat with chocolate
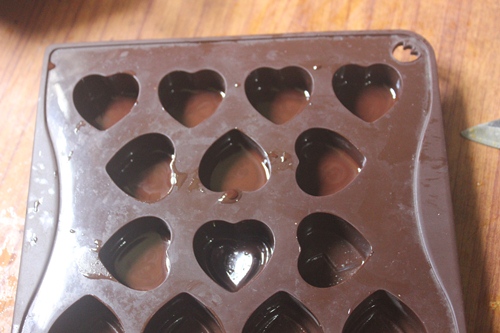
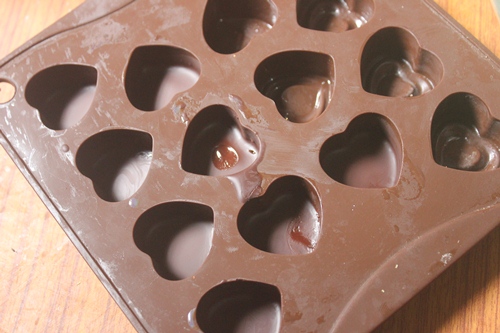
15)Coat on all sides.
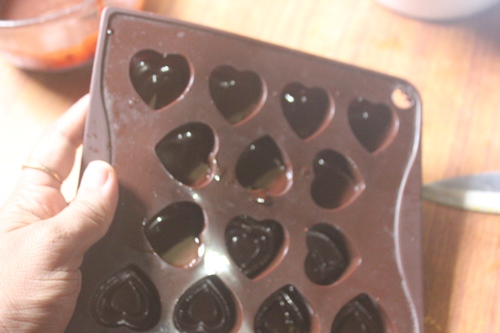
16)Pop it in fridge to make the chocolate set a little
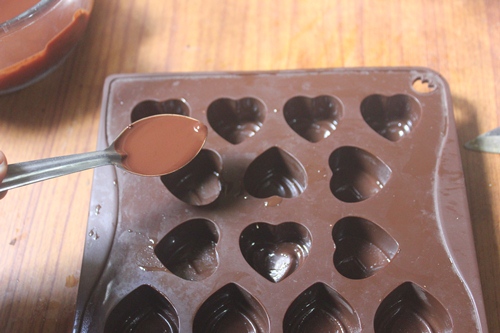
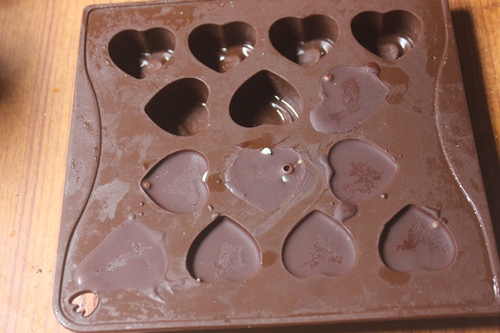
17)Spoon the filling in
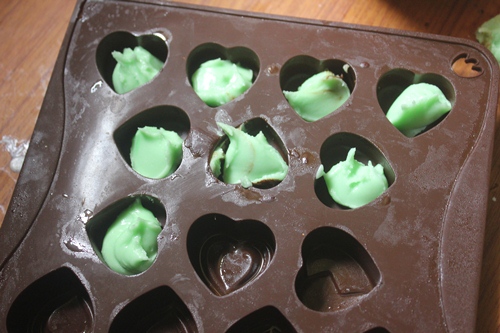
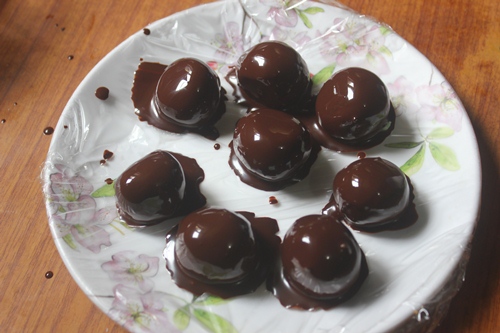
18)Top with more chocolate
19)Chill untill set
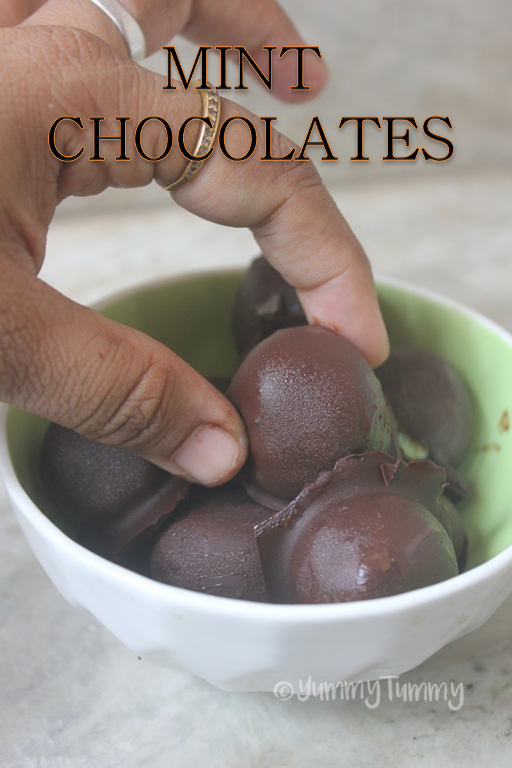
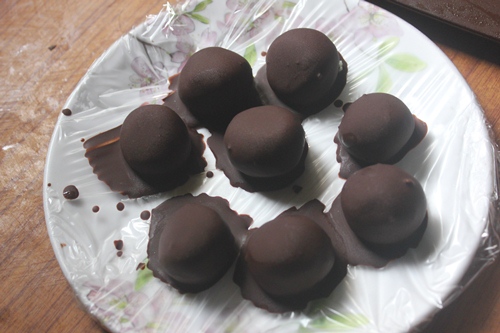
20)Un mould.
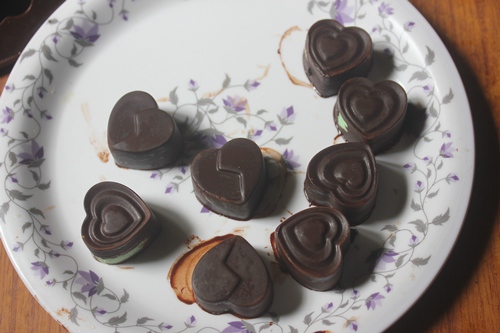
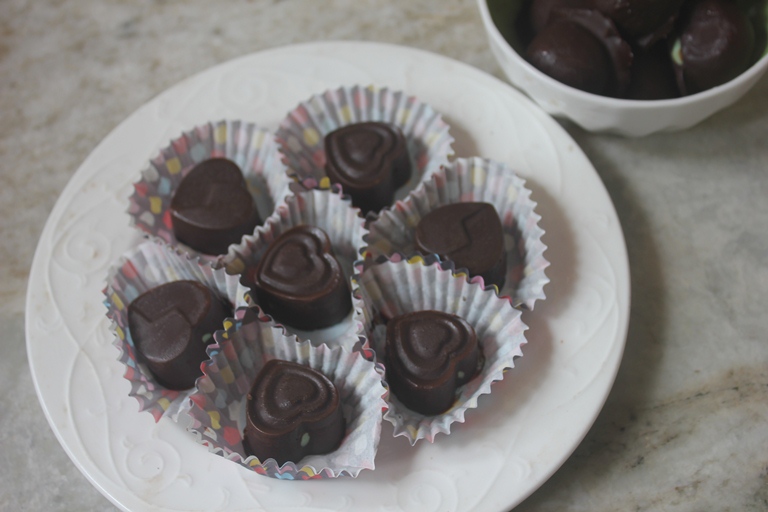
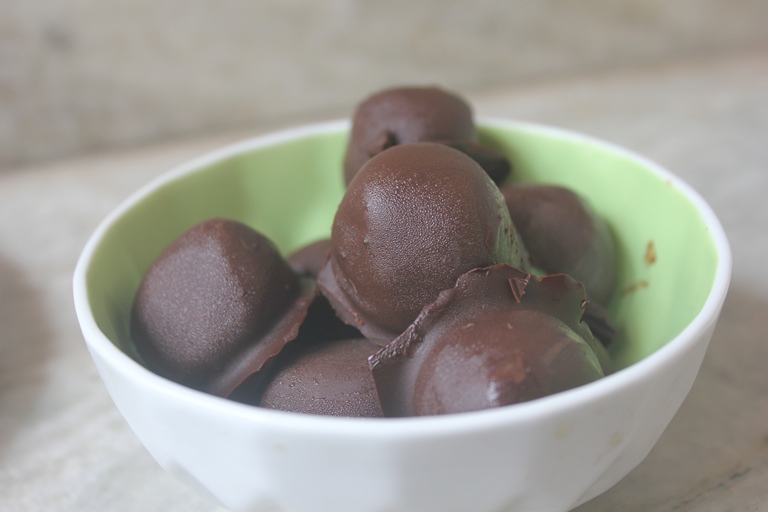
21)Serve
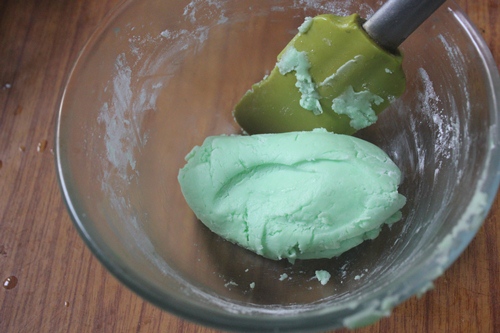
22)If you don’t have the mould, add more icing sugar to the mixture.
23)Knead to a dough like
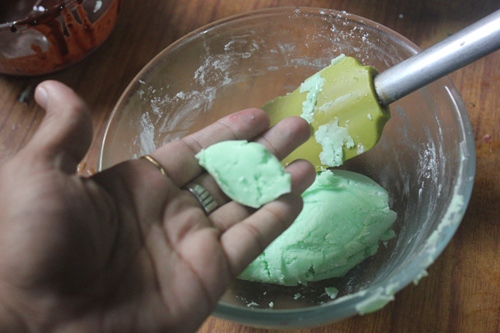
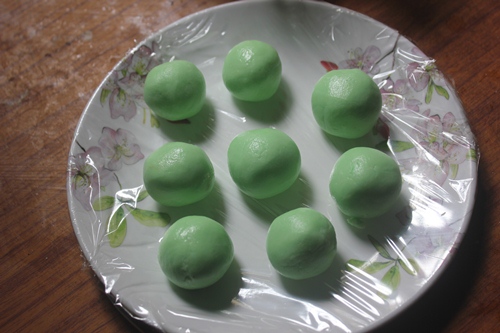
24)Take small portion of dough
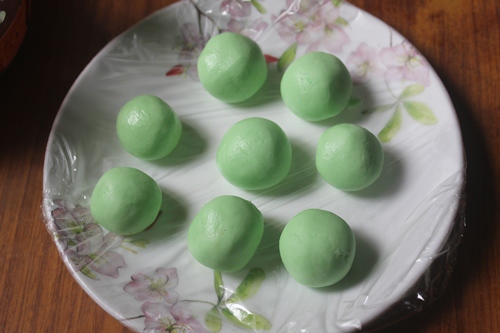
25)Roll it into a smooth ball
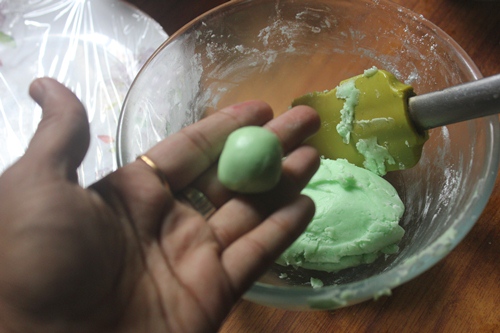
26)Pop it in fridge to set
27)Remove it
28)Dip it in chocolate
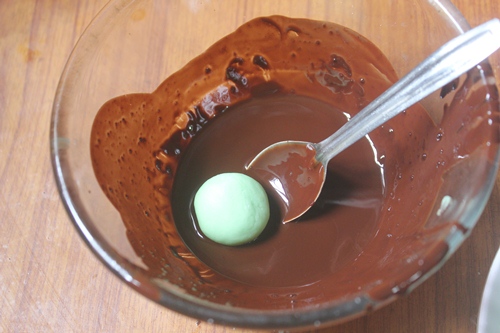
29)Coat well
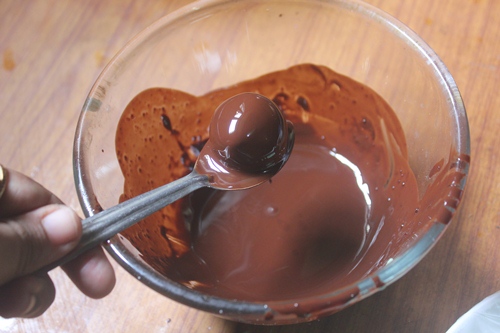
30)Set them in fridge to set
31)Done
32)Serve
Expert Tips
1. Melt Your Chocolate Gently – Never rush this part. Always melt your chocolate using the double boiler method—that’s just placing a heatproof bowl over a pan of simmering water. It might take a little longer than microwaving, but it keeps the chocolate smooth, glossy, and prevents it from burning or becoming grainy. Burnt chocolate is just… sad.
2. Use Melted (Not Hot) Butter – When making the filling, make sure the butter is melted and warm—not piping hot. If it’s too hot, it might melt the sugar too quickly or affect the texture of the cream. Gently melted butter blends better with the icing sugar and cream, making the filling soft and smooth without becoming runny.
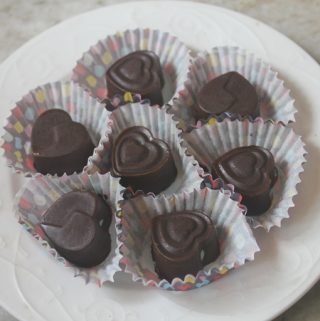
3. Silicone Moulds Are a Blessing– If you have silicone moulds, use them! They make life so much easier. You won’t need to bang or scrape to get your chocolates out they just pop right out looking all shiny and perfect. If you don’t have one, don’t worry. You can use mini cupcake liners or even shape the filling into small minty balls and dip them in chocolate by hand. It won’t look store-bought, but it’ll still taste like heaven
4. Don’t Skip Fridge Time – This part is important after every layer (base chocolate, mint filling, top chocolate), chill the mould in the fridge. It doesn’t have to be for hours—even 10-15 minutes between each layer helps it firm up and gives you that clean, even look when you bite into it later. It also keeps the filling from mixing into the chocolate and getting messy.
Storage & Serving
Storage – Keep the mint chocolates in an airtight container in the fridge. They’ll stay good for 7–10 days, and won’t lose their texture or flavor. If you’re stacking them, place a small piece of parchment paper between layers to keep them from sticking.
Serving – These are best enjoyed chilled straight from the fridge, but taste just as good at room temperature. Serve them after a meal, with coffee or tea, or pop one in a gift box for a homemade treat that looks thoughtful and tastes amazing.
Make-Ahead Tip
The filling can be made a day or two in advance and stored in the fridge. Just remember to take it out ahead of time so it softens slightly—makes spreading or shaping way easier. You can even make the full chocolates and store them, saving time before a party or event.
FAQ
1. Can I use milk chocolate instead of dark chocolate?
Yes, definitely! Milk chocolate works great if you prefer a sweeter taste. Just remember, it’s already quite sweet, so you can reduce the icing sugar in the filling a little to balance it out.
2. What if I don’t have peppermint oil?
No worries! You can use peppermint extract instead. Start with about 1⁄2 teaspoon, mix it in, and taste. If it’s not minty enough, add a tiny bit more. Just go slow—peppermint flavor gets strong quickly.
3. Can I freeze these?
Yes, you can freeze them easily. Store them in a box with parchment paper between layers so they don’t stick. When you want to eat them, just let them sit at room temperature for 10–15 minutes.
4. Can I make these without a mould?
Absolutely. Just shape the filling into small balls, freeze them a bit, then dip into melted chocolate. It’s a bit more hands-on but still turns out great!
Variations
1. Add Crunch – Mix in some crushed nuts, crispy rice, or even cookie crumbs into the filling. You can also sprinkle a few on top before chilling for a little texture and fun.
2. Use White Chocolate – Switch out the dark chocolate for white chocolate to create a creamy, sweeter version. It looks really pretty with the green filling too!
3. Make It Layered – For a layered look, pour a little chocolate in first, chill it, then add the filling, chill again, and finish with more chocolate on top. It gives a nice surprise inside when you bite into it.
4. Flavour Twist – Instead of mint, try orange or almond extract in the filling for a totally different vibe. Just make sure to use food-safe oils or extracts made for baking.
Chocolates Recipes
📖 Recipe Card
Mint Chocolates Recipe
Mint chocolates are bite-sized delights filled with a soft, peppermint-flavored cream and coated in a rich chocolate shell. These are super easy to make at home, require no fancy tools (though a silicone mould helps), and taste just like the ones you’d buy from a store. Think peppermint patties or After Eight-style chocolates but homemade with love! This recipe is a great go-to if you’re craving something chocolatey with a fresh twist. You only need a few simple ingredients and a little patience to let things chill in between. Whether you’re making them for yourself or as edible gifts, they always bring smiles.
Servings: 8 servings
Calories: 214kcal
Equipment
Silicon Chocolate Mould
Sauce Pan
Heat safe bowl
Nutrition
Serving: 1serving | Calories: 214kcal | Carbohydrates: 25g | Protein: 2g | Fat: 12g | Saturated Fat: 7g | Polyunsaturated Fat: 0.4g | Monounsaturated Fat: 4g | Trans Fat: 0.1g | Cholesterol: 9mg | Sodium: 6mg | Potassium: 161mg | Fiber: 2g | Sugar: 20g | Vitamin A: 107IU | Vitamin C: 0.02mg | Calcium: 19mg | Iron: 3mg
If you have any questions not covered in this post and if you need help, leave me a comment or mail me @[email protected] and I’ll help as soon as I can.
Follow me on Instagram, Facebook,Pinterest ,Youtube and Twitter for more Yummy Tummy inspiration.
IF YOU MAKE THIS RECIPE OR ANYTHING FROM YUMMY TUMMY, MAKE SURE TO POST IT AND TAG ME SO I CAN SEE ALL OF YOUR CREATIONS!! #YUMMYTUMMYAARTHI AND @YUMMYTUMMYAARTHI ON INSTAGRAM!
–>