
Ragi porridge also known as Ragi kanji made the Authentic way of fermenting finger millet balls to increase its nutritional benefits. This power packed breakfast of fermented ragi porridge is perfect for hot summer days.

Ragi Porridge Recipe (Ragi Kanji)
Ragi Porridge, we call it Keppai koozh or ragi kanji at home. This is one dish which I make often for breakfast. Years back, I used to make the instant porridge with ragi flour, letting it cool and mixing with yogurt and spices.
Jump to:
After knowing the benefits of fermented foods to our body, I have started making porridge slightly different now. I let them ferment overnight to increase the nutritional benefits.
About Ragi Porridge
Finger Millet is a super food. You should include them in your diet daily or at least 4 to 5 times a week. Ragi is also high in fibre, calcium and can help lower cholesterol levels. It is an excellent food for weight loss, diabetes, and body cooling.
Ragi porridge also known as Ragi kanji or finger millet porridge is a fermented summer beverage made with finger millet flour which makes it a healthy and filling breakfast.
Unlike most recipes, that make this porridge instantly, this one takes little time. Even though it takes time, the recipe is so simple. You don’t need to do much cooking at all. You need to let the finger millet balls ferment overnight which increases the nutritional benefits and probiotic properties.
Similar Recipes
Ragi Malt
Ragi Ladoo
Finger Millet Poori
Ragi Idiyappam
Ragi Dosa
The method which I have shared here is similar to the kambu koozh recipe that I make. Cooking the millets and letting them ferment overnight. Takes time but it is the healthiest way of making this porridge.
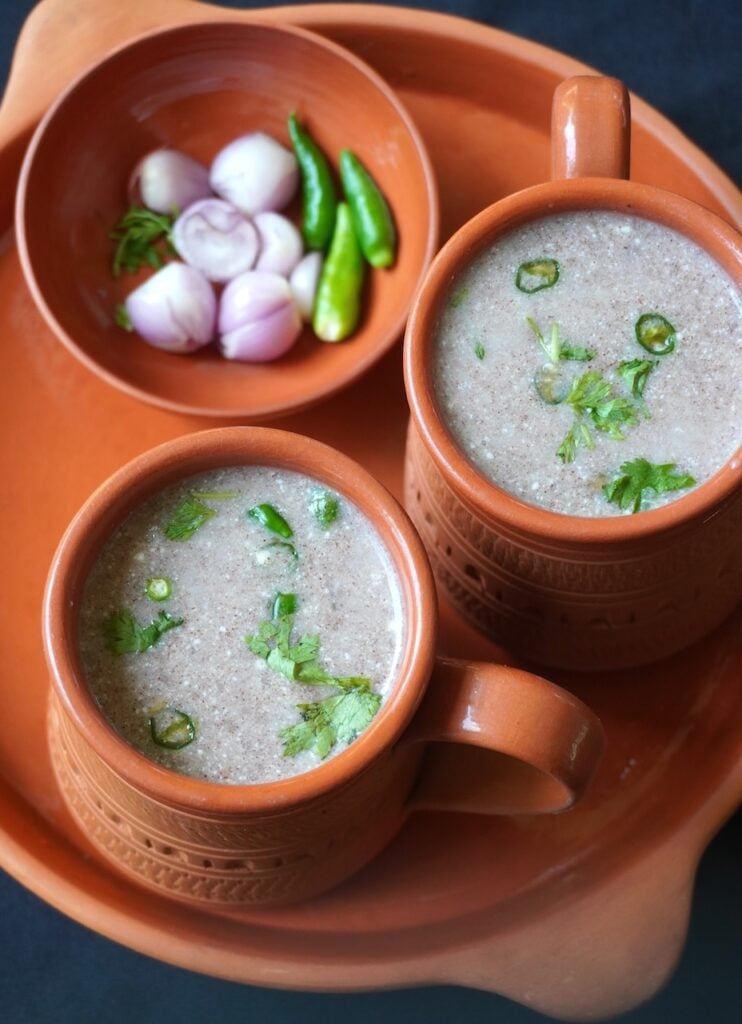
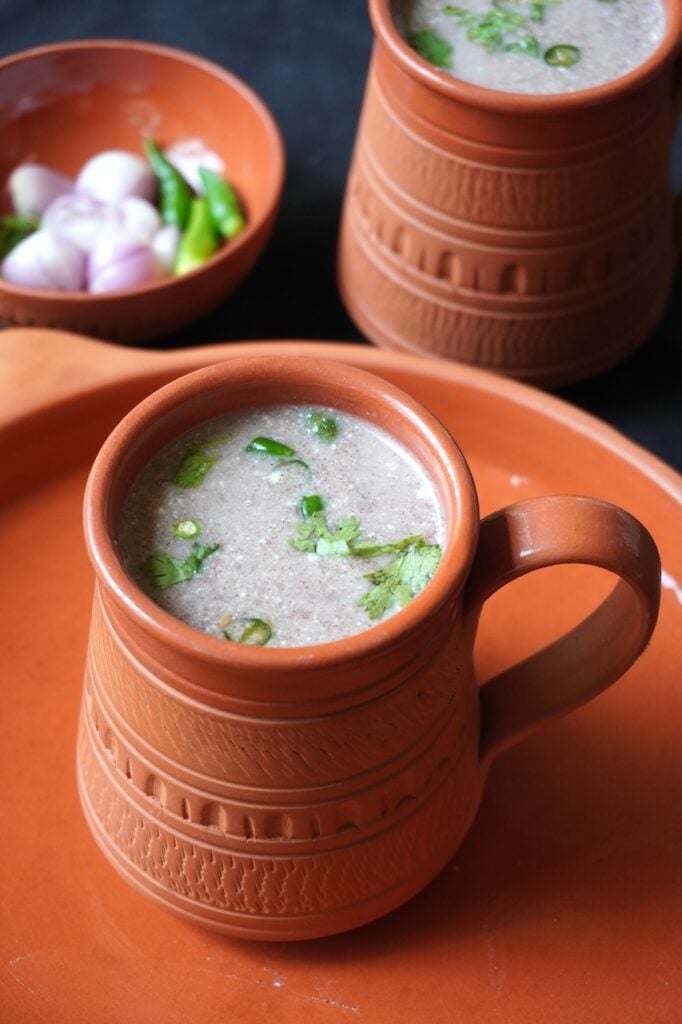
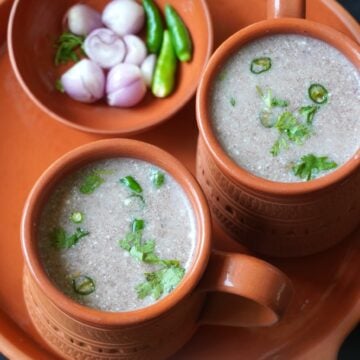
After fermentation, the texture of this porridge changes to a thick consistency. You mix yogurt, onions, chillies and curry leaves to add flavour.
Sometimes for even more flavour, you can do a little tempering. Heat oil or ghee, add mustard, urad dal, buttermilk chillies and curry leaves. Pour this into the porridge and mix well. It taste so delicious.

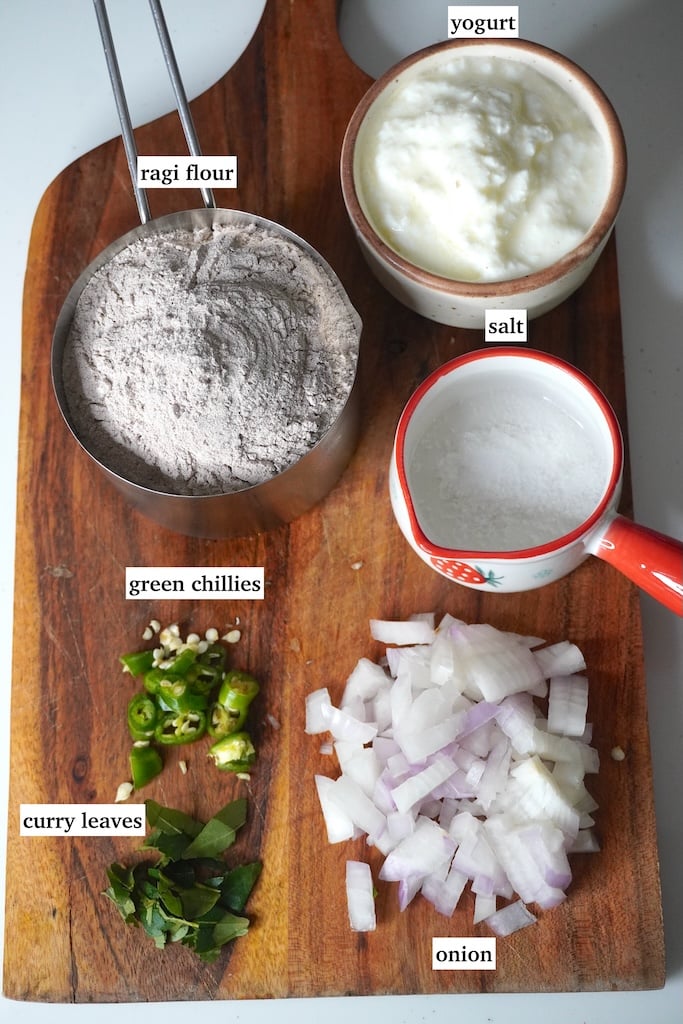
Ingredients
- Ragi Flour – use good quality ragi flour (finger millet flour) for this recipe.
- Water – I use 11/2 cup of water to every 1 cup of ragi flour when cooking in this method.
- Salt – a pinch of salt is added to enhance the taste of the mudde.
- Yogurt – use fresh slightly sour yogurt or curd to add cooling refreshing taste to the porridge.
- Flavouring – I like to use onions, green chillies and curry leaves. You can even use chopped carrots, grated ginger as well.
Step by Step Pictures
Making Ragi Balls
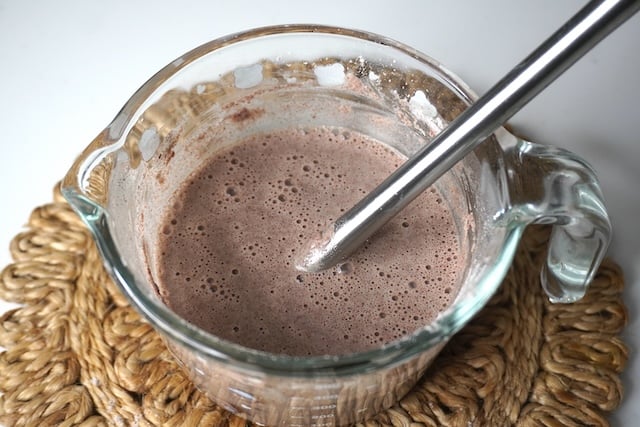
1)In a separate bowl, take 1 cup water and 1 cup of ragi flour.
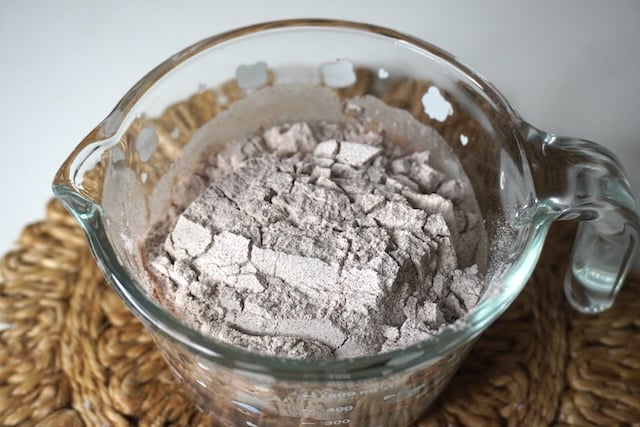
2)Use a whisk to mix till it is lump free and smooth. Set aside.
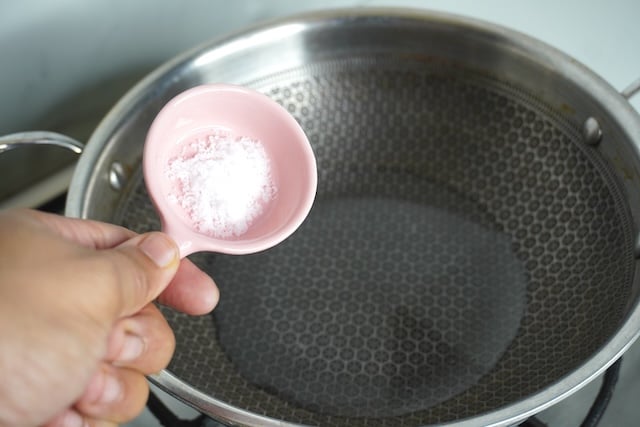
3)Take ½ cup of water in a nonstick kadai. Add salt to it.
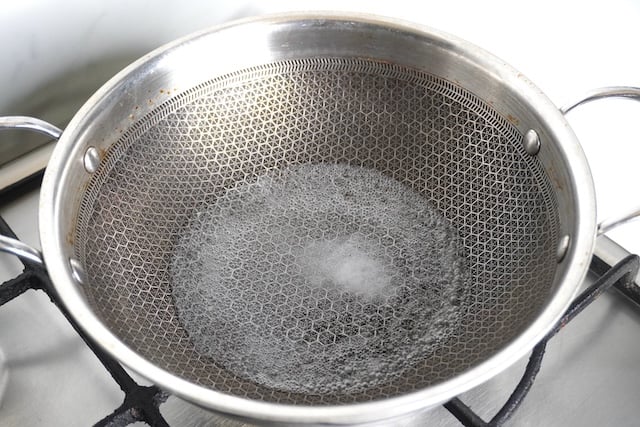
4)Bring it to a full boil.
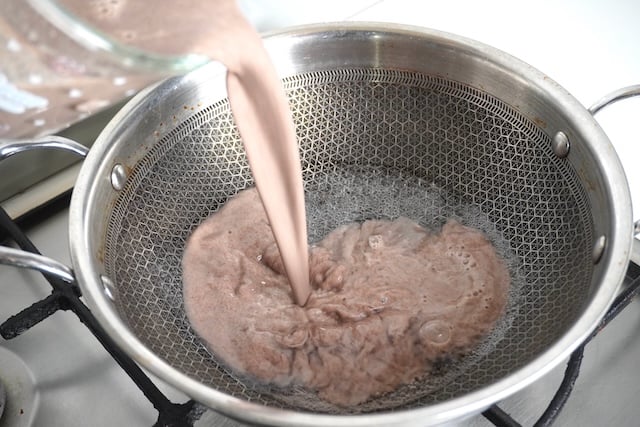
5)Now pour in the ragi slurry into the boiling water all in one go.
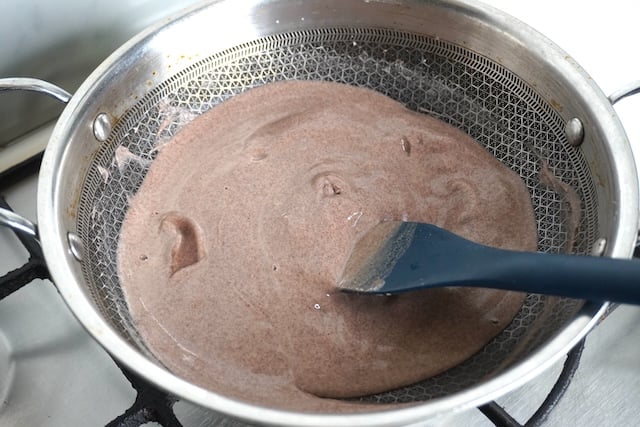
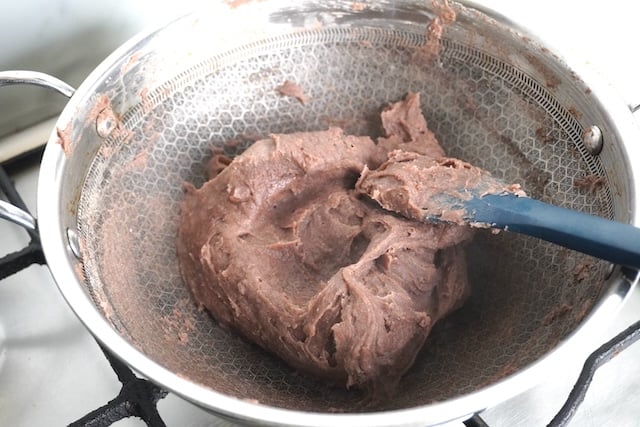
6)Use a spatula to mix till it is starts to thicken. Constantly mix so it gets thick and lump free.
7)You have cook this on medium high heat till the ragi mixture starts to leave the sides of the pan and is really thick. It will take 5 minutes.

8)The colour of the mix will darken.
9)Now sprinkle 2 tablespoon of water and use a spatula to break the ragi mixture roughly so the water can distribute.

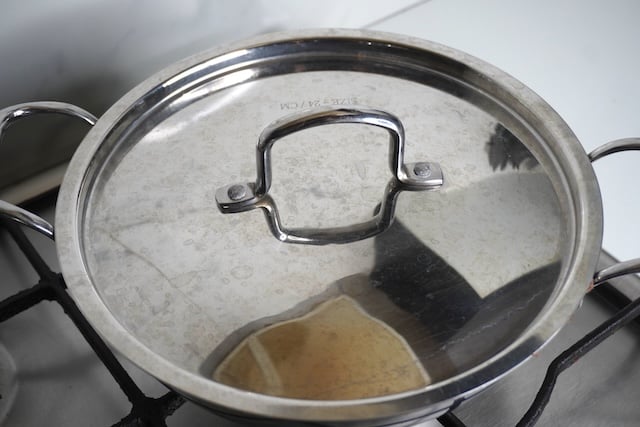
10)Cover the pan with lid and cook covered on low medium heat for 5 minutes. By this time the ragi will be cooked.
11)Now open the lid and mix it one more time. Bring all the mixture to the centre of the pan. The mixture will be slightly sticky. Now cover the pan with a lid and set aside for 10 minutes to rest. By this time the ragi would have cooled a bit and become non-sticky.
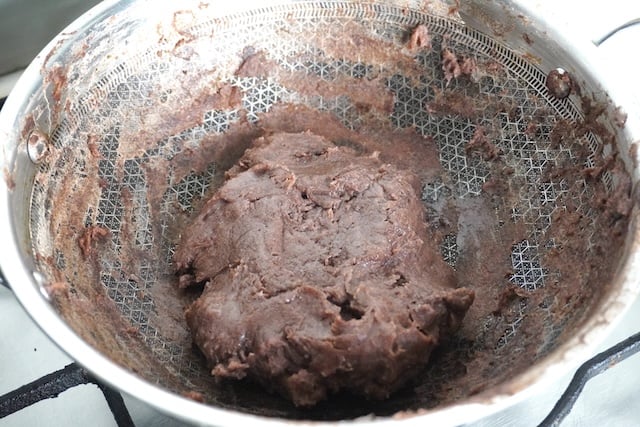
12)After 10 minutes open the lid and Use your wet fingers to touch the ragi mixture, it should be non-sticky.

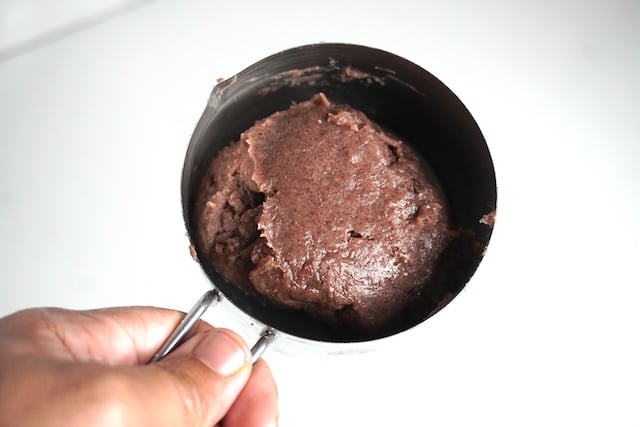
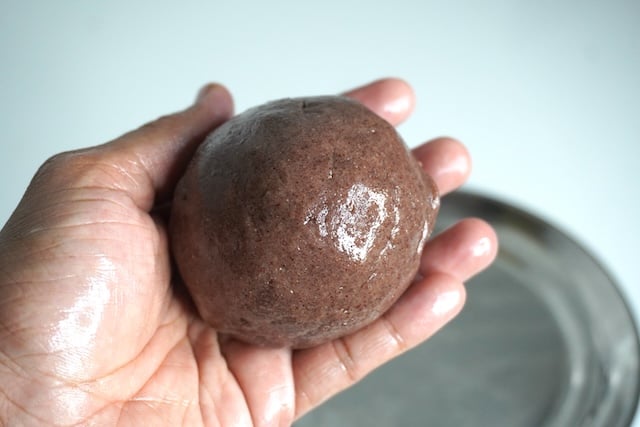
13)Take a deep steel bowl or measuring cup. Add 1 teaspoon of ghee into the cup and spread it on all sides. Take a portion of the ragi mixture using the spatula and add it into the greased cup. Shake it and swirl it so the ragi mixture forms a ball. This makes the shaping portion easier.
12)Take the ball in your hands and shape it even more so it is smooth.
Fermenting Ragi
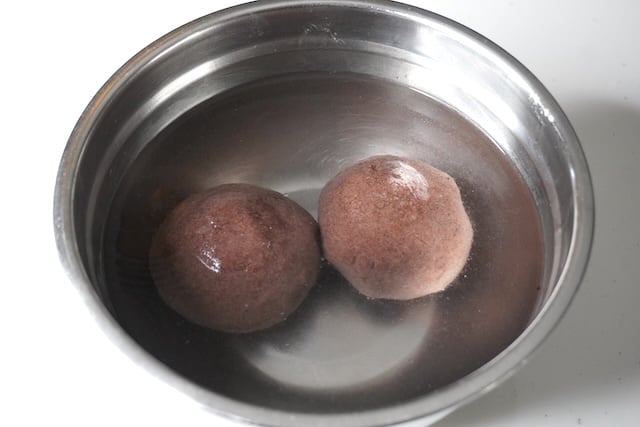
13)Place the ragi ball in a bowl.

14)Cover with clean fresh water. Cover and allow this to ferment for 12 to 14 hours. I usually leave them overnight.
Making Ragi Porridge
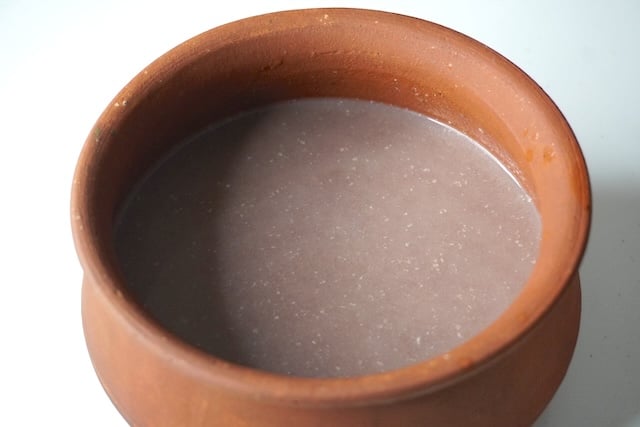
15)Next day the ball should be slightly disintegrated. Now mix it really well into the fermented water using your hands or whisk. I transferred it to a earthern ware pot.
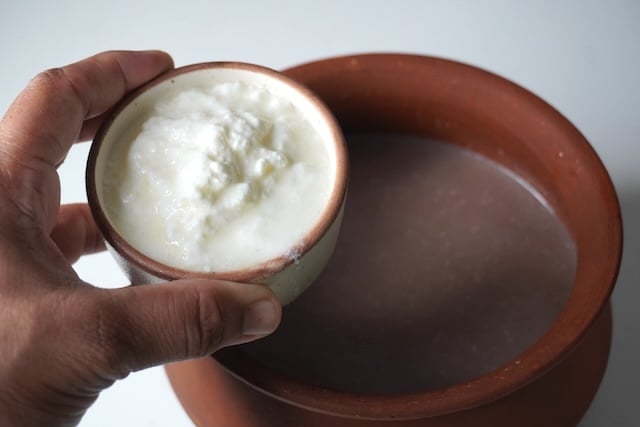
16)Add in the plain yogurt and mix well.
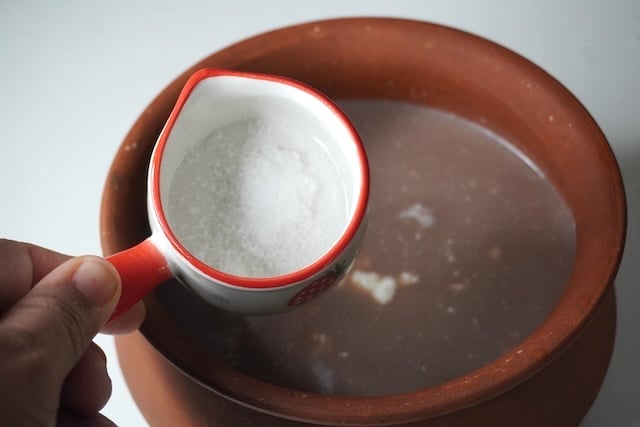
17)Add salt to taste.
18)Add in onions, green chillies, curry leaves. You can use grated ginger also.
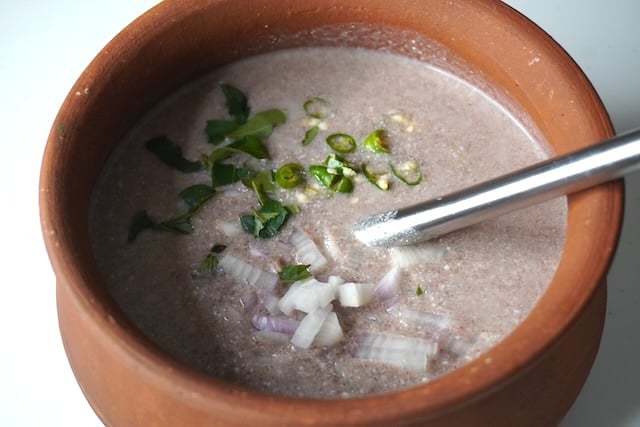
19)Mix it really well. Taste and adjust seasoning and yogurt. Thats it fermented ragi porridge is ready to serve.
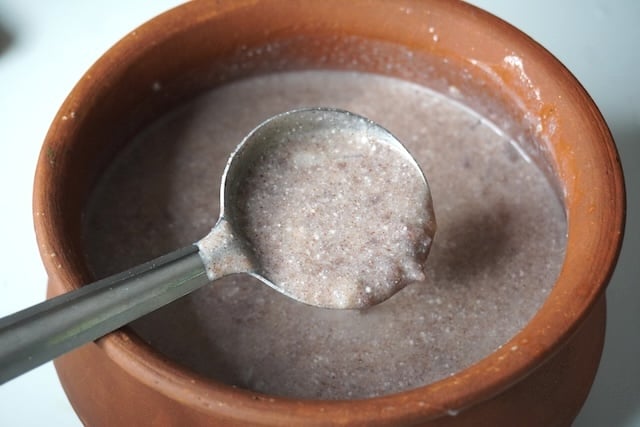
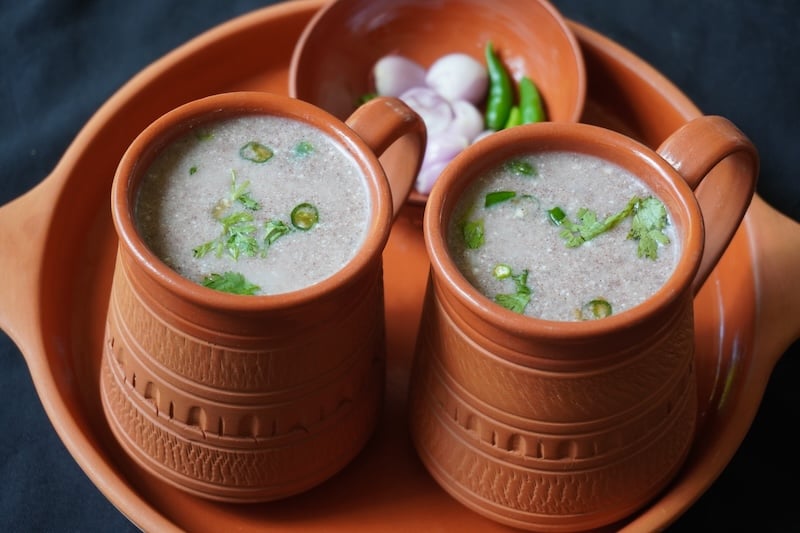
20)Enjoy this cold.
📖 Get Recipe
Ragi Porridge Recipe (Fermented Ragi Kanji)
Ragi porridge also known as Ragi kanji made the Authentic way of fermenting finger millet balls to increase its nutritional benefits. This power packed breakfast of fermented ragi porridge is perfect for hot summer days.
Nutrition
Nutrition Facts
Ragi Porridge Recipe (Fermented Ragi Kanji)
Amount per Serving
% Daily Value*
* Percent Daily Values are based on a 2000 calorie diet.
If you have any questions not covered in this post and if you need help, leave me a comment or mail me @aarthi198689@gmail.com and I’ll help as soon as I can.
Follow me on Instagram, Facebook,Pinterest ,Youtube and Twitter for more Yummy Tummy inspiration.