
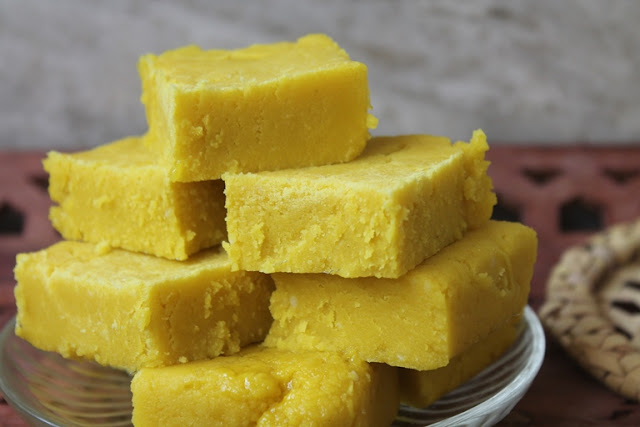
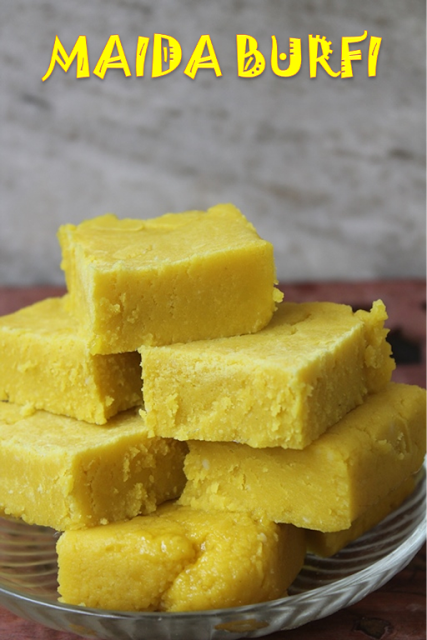
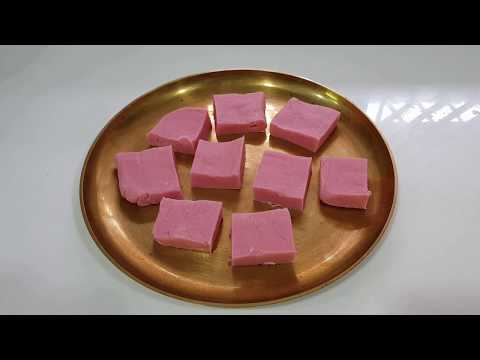
Easy Maida Burfi also known as Maida Barfi, fudge or cake is made using flour, ghee and sugar which creates this delicious fudge like cake. Perfect and simple burfi to make for this Diwali or any festive occasions. This is an easy sweet which can be made in under 30 mins.
Maida Burfi Recipe
In my place, there is a sweet stall. They sell a burfi which taste so yummy. It is soft and just melt in your mouth. Yesterday me and my mom were having an argument, she told me that those burfis are made with gram flour, but I told her no not at all, they are made with maida.
Jump to:
This argument got very serious and i told her that i will make you that burfi right now, lets taste and decided. Immediately I got into action and made it, and when she tasted it she accepted that it is made with plain flour.
When I made it yesterday I didn’t take picture of it, so I made it again today and took pictures. I can’t wait to share it with you all. This needs just 4 ingredients and it is a breeze to make. The key thing is to get the syrup right, everything else is easy peasy.
About Maida Barfi (Flour Burfi)
Maida burfi, also known as maida cake, is a simple Indian sweet maida with just three ingredients like maida, sugar and ghee. The texture of this burfi is soft, smooth and melt-in-mouth, with a rich ghee flavour and perfect sweetness. It is one of those traditional sweets made for Diwali and other special occasions.
I still remember whenever we bought a box of mixed ghee sweets for diwali, maida burfi would always have a place in it. It brings back so many childhood memories for me.
The key to making a soft and perfect maida burfi is getting the sugar syrup consistency right. Once the syrup reaches the correct stage, the rest of the process comes together in just a few minutes. The roasted maida, ghee and sugar syrup blend beautifully into a smooth mixture that sets into a delicious soft burfi.
Most of us think making burfi at home can be a little tricky, but this one is actually quite simple. It can be made in under 20 minutes and is definitely worth trying for the upcoming festivals.
Similar Recipes
Mysorepak
Kalakand
Coconut Burfi
Figs Burfi
Khoya Burfi
Beetroot Burfi
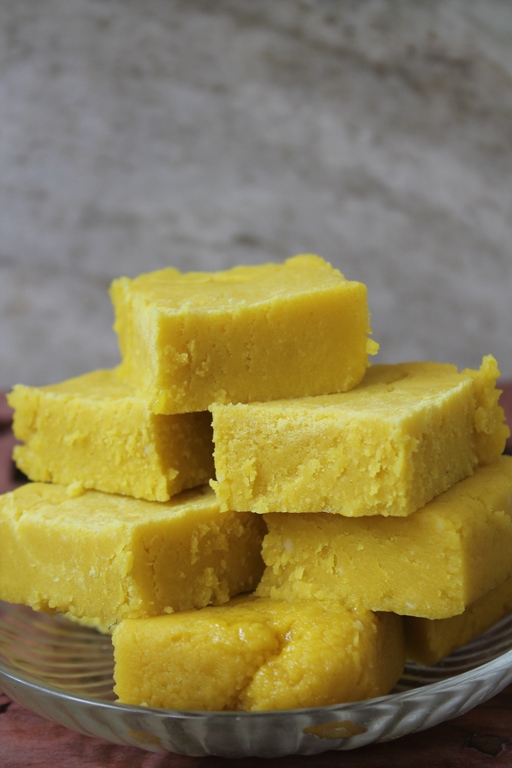
Maida burfi is a simple Indian sweet made with just a few basic ingredients like ghee, sugar and maida. It has a soft, smooth and melt-in-mouth texture with a mild sweetness and rich flavour.
This is one of those easy homemade sweets that comes together quickly and is loved by both kids and adults.
If you are looking for a fuss free sweet to make for Diwali or any special occasion, this maida burfi is a great choice. All you need is a pan, a whisk and a little patience to get the right consistency. In this blog post, learn how to make soft, smooth and delicious maida burfi with step-by-step instructions.
More Recipes
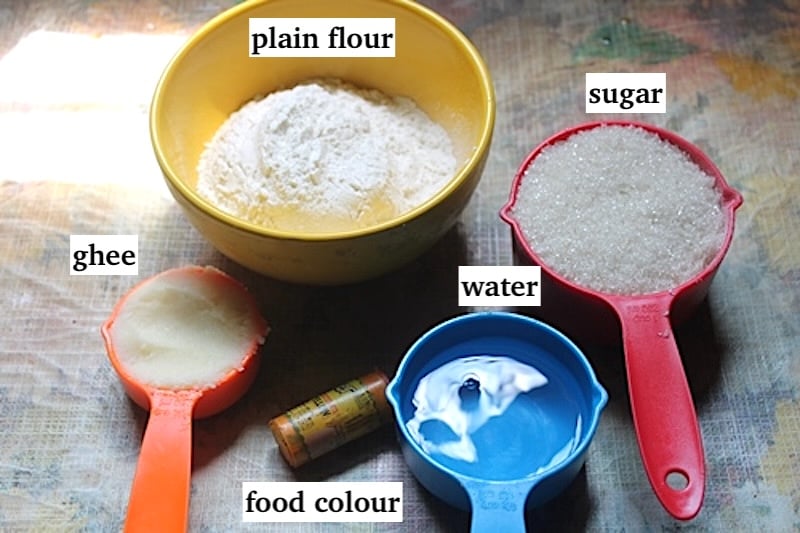
Ingredients
- Ghee : Use good quality ghee for the best flavour. It helps roast the maida evenly and gives the burfi a soft, rich texture.
- All purpose flour : This is the main ingredient that gives the burfi its body and structure. Roast the maida well in ghee to remove the raw smell and get a smooth texture.
- Sugar : Granulated white sugar is used to sweeten the burfi and gives the right texture. Cook the sugar with water until it reaches the correct consistency for the burfi to set well.
- Water : Water is used to dissolve the sugar and make the syrup. Use the measured amount of water to get the right consistency.
- Yellow food coloring : Food coloring is optional, but it gives the burfi a bright and attractive yellow shade.
Step by Step Pictures
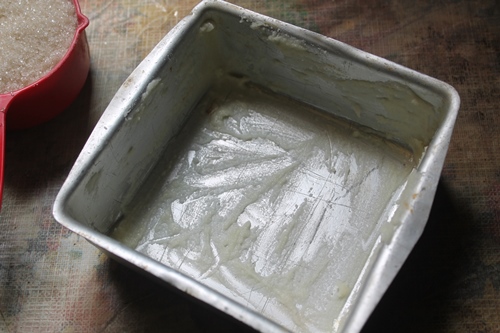
1)Grease the pan in which you are setting the barfi generously with ghee. You can line it with parchment paper as well. Set aside.
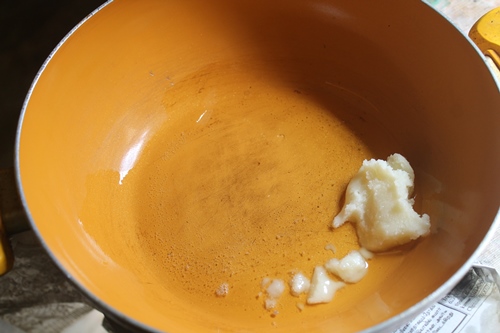
2)Heat a nonstick kadai, add in ghee and heat it.
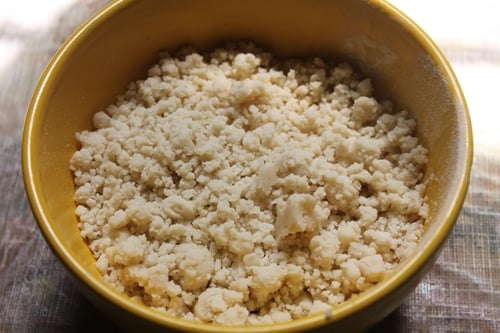
3)Once it is melted add in flour and stir fry till the raw smell leaves away.
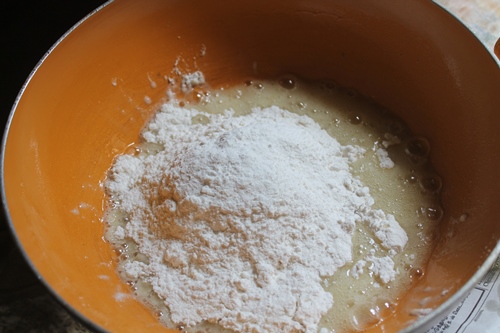
4)It will take around 2 to 3 minutes. No need to roast till golden colour. Just cook until raw smell leaves.
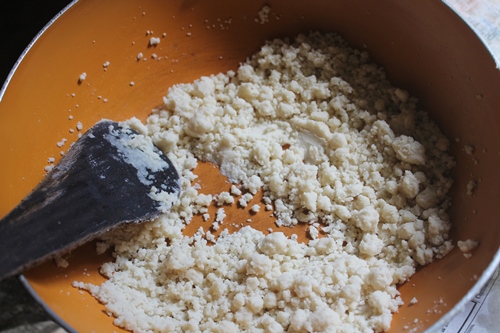
5)Remove it to a bowl and set aside for a minute.
6)In the same pan, add in sugar and water.
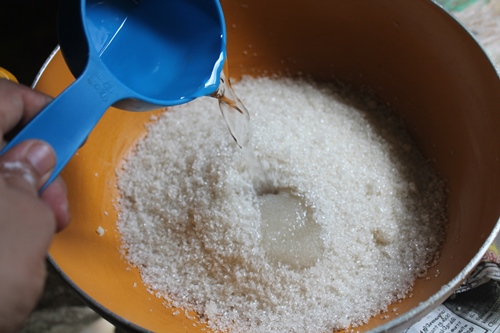
7)Add in food colouring as well. Now mix well and cook this till 1 string consistency.
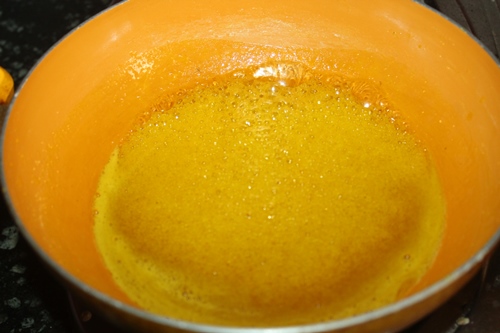
8)It will take around 5 to 6 minutes.
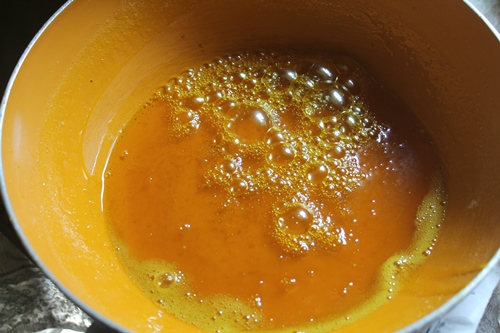
9) when you take some of the syrup between your index and thumb finger, you will be able to form 1 string. this is the right consistency.
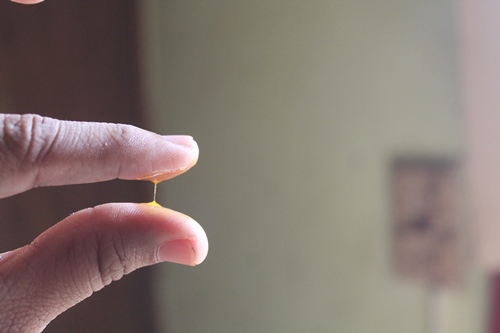
10)Now take it off the heat, this is very important, Turn off the heat and add in the flour mixture which we roasted earlier.
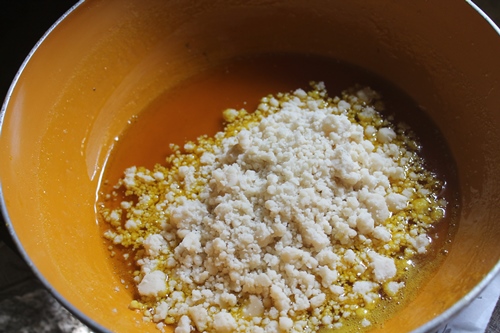
11)Now you have to keep on mixing off the heat.
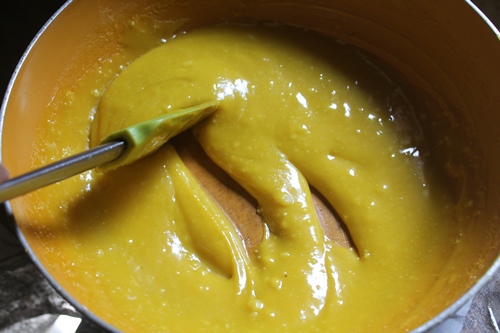
12)Now keep on mixing this, it will take 2 to 4 mins. It will get thick.
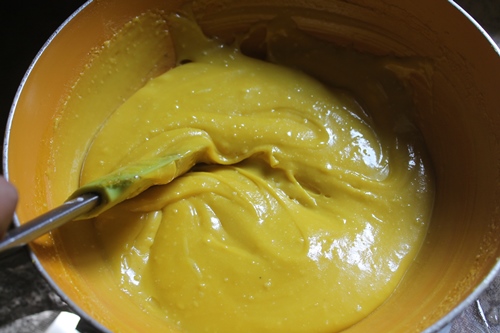
13)Now you can see the mixture has got super thick and fudge like.
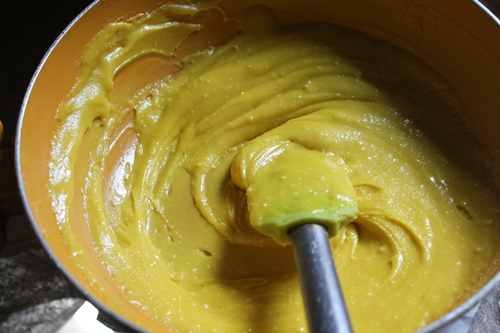
14)This is the consistency you are looking for. Don’t keep stiring after this, else the mixture will get crumbly.
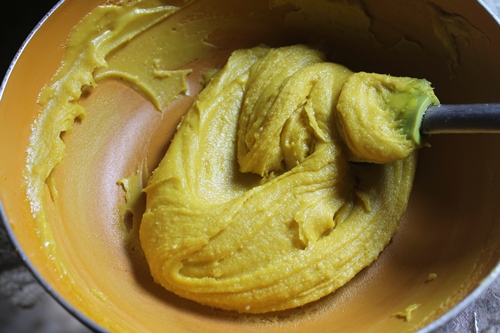
14)At this stage pour this into the greased tray and smoothen the top.
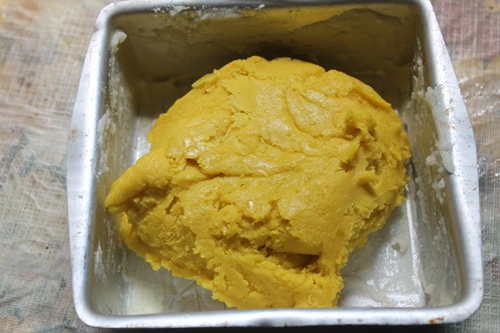
15)Now set this for 15 to 30 mins.
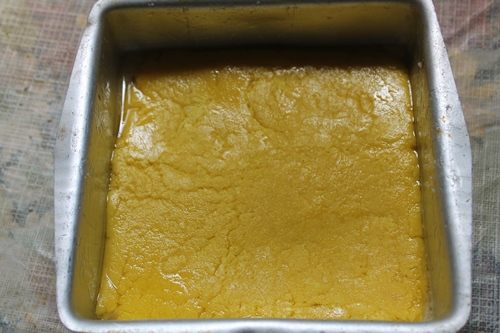
16)Cut it into squares using a sharp knife.
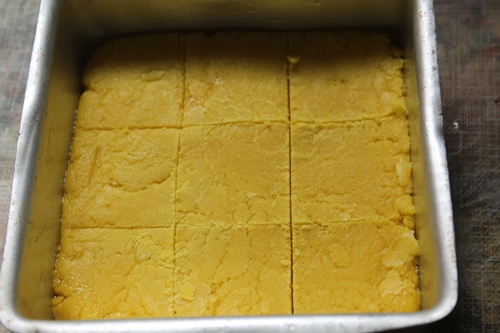
17)Enjoy these melt in mouth barfi.
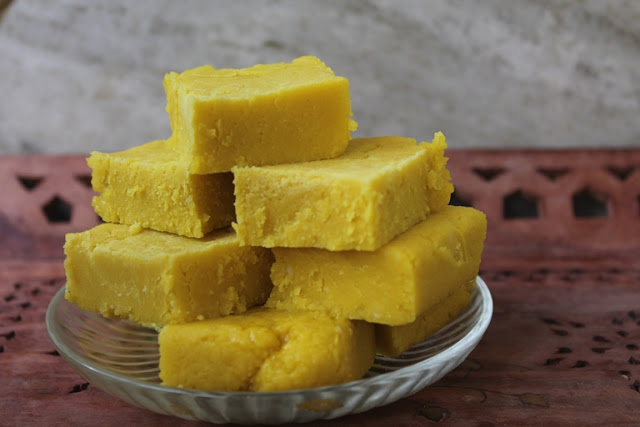
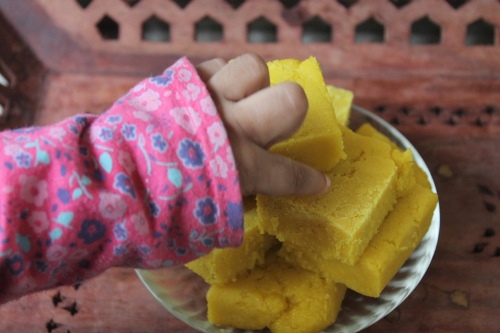
18)This is my little ones favorite too.
Expert Tips
Roasting well : Roast the maida in ghee on low medium heat until it becomes fragrant and the raw smell leaves.
String consistency : Cook the sugar syrup until it reaches one string consistency. This is the most important step for getting a burfi that sets well without becoming too hard or too soft.
Mix off the heat : Once the sugar syrup reaches the right stage, switch off the heat before adding the roasted maida.
Measurement matters : Burfi needs the correct balance of maida, ghee and sugar for the right texture. Avoid changing the measurements too much, especially when making it for the first time.
Don’t reduce the ghee : Ghee gives maida burfi its soft, rich and melt in mouth texture. Reducing it too much can make the burfi dry and crumbly.
Grease in advance : Grease the tray with a little ghee before starting the recipe.
Storage : Allow the maida burfi to cool and set completely before storing. Cut it into pieces and keep them in a clean, dry airtight container.
Serving : Serve maida burfi fresh for the best soft and melt in mouth texture. It is perfect for festive occasions like Diwali and also for evening snack along with coffee and tea. It is ideal for gifting during special occasions.
FAQ
Q. Why is my maida burfi not setting ?
The sugar syrup may not have reached the correct consistency. Cook the syrup until it reaches one string consistency before adding the roasted maida.
Q. Can I make maida burfi without food color ?
Yes, food color is completely optional. You can skip it and make a simple white colored burfi.
Q. Can I add any flavours to the burfi ?
Absolutely ! You can add cardamom powder, vanilla essence or rose essence to make it more flavourful.
Q. How do I get smooth and lump-free burfi ?
Sieve the maida before using and roast it well. When adding it to the sugar syrup, mix quickly and continuously to prevent lumps from forming.
📖 Get Recipe
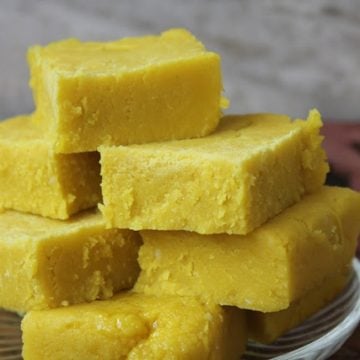
Maida Burfi Recipe (Maida Barfi, Flour Barfi, Maida Cake Recipe)
Easy Maida Burfi also known as Maida Barfi, fudge or cake is made using flour, ghee and sugar which creates this delicious fudge like cake. Perfect and simple burfi to make for this Diwali or any festive occasions. This is an easy sweet which can be made in under 30 mins.
Video
Nutrition
Nutrition Facts
Maida Burfi Recipe (Maida Barfi, Flour Barfi, Maida Cake Recipe)
Amount per Serving
% Daily Value*
* Percent Daily Values are based on a 2000 calorie diet.
If you have any questions not covered in this post and if you need help, leave me a comment or mail me @aarthi198689@gmail.com and I’ll help as soon as I can.
Follow me on Instagram, Facebook, Pinterest ,Youtube and Twitter for more Yummy Tummy inspiration.